
Here’s a simple project for new parents looking to document and display their newborn’s handprint or footprint with zero ink mess.
Materials List:
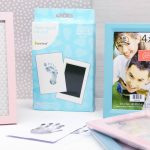
- Pearhead Newborn Baby Handprint or Footprint “Clean-Touch” Ink Pad, 2 Uses, Black
- Acid-Free, Photo Safe Tape
- Michaels 5″ x 7″ Mat By Studio Décor, 3″ x 5″ Opening
- Scrapbook Paper, your choice print (recommend Recollections brand, sold at Michaels in individual 12″ x 12″ sheets)
- Optional: Gold Bic Marking Permanent Marker
- 5″ x 7″ Frame, such as:

This unique frame has a color on the outer edge of the frame. It comes in a variety of colors: black, white, green, blue, lilac. It is meant for shelf display. 4.1 of 5 stars.

This sturdy frame comes in 15 color choices. It is meant for wall display. 4.2 of 5 stars.

This budget-friendly frame can be picked up for less at your closest IKEA store. It comes in a variety of colors, including black, white, red, pink, and blue. 3.6 of 5 stars.
Get the Handprint / Footprint
First off, I recommend doing this project at under age 12 weeks, as that’s when your child will be napping a lot. You will need your child to be fast asleep, on their belly, in order to get the handprint. Since babies, up to one year of age, need to always be put to sleep on their backs, you will need to be present with your child from when they fall asleep through the handprint portion, when you can gently flip them over safely onto their backs. My trick was that I would let my littles play in their infant “gym” on the floor of the living room until they fell asleep. I did this around 10 weeks of age because they were much more used to getting tummy time by then.
It’s also handy to have two adults, but not absolutely necessary.
Tip: Pull back any shirt arms or pant legs, so they are not accidentally registered on the sheet.
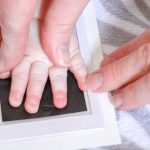
Follow the directions on your Clean Touch Ink Pad box. Make sure to have the correct side of the ink sheet up / down before placing baby’s hand or foot on it. I made sure, while keeping the hand still on the pad, to apply gentle pressure to each finger (or toe) to make sure they all registered. Do a test run on a plain piece of paper first. Each sheet can do a couple of prints before it begins to lose ink. When ready, use the paper provided in the Ink Pad product box.


Let it dry.
Mat & Frame It
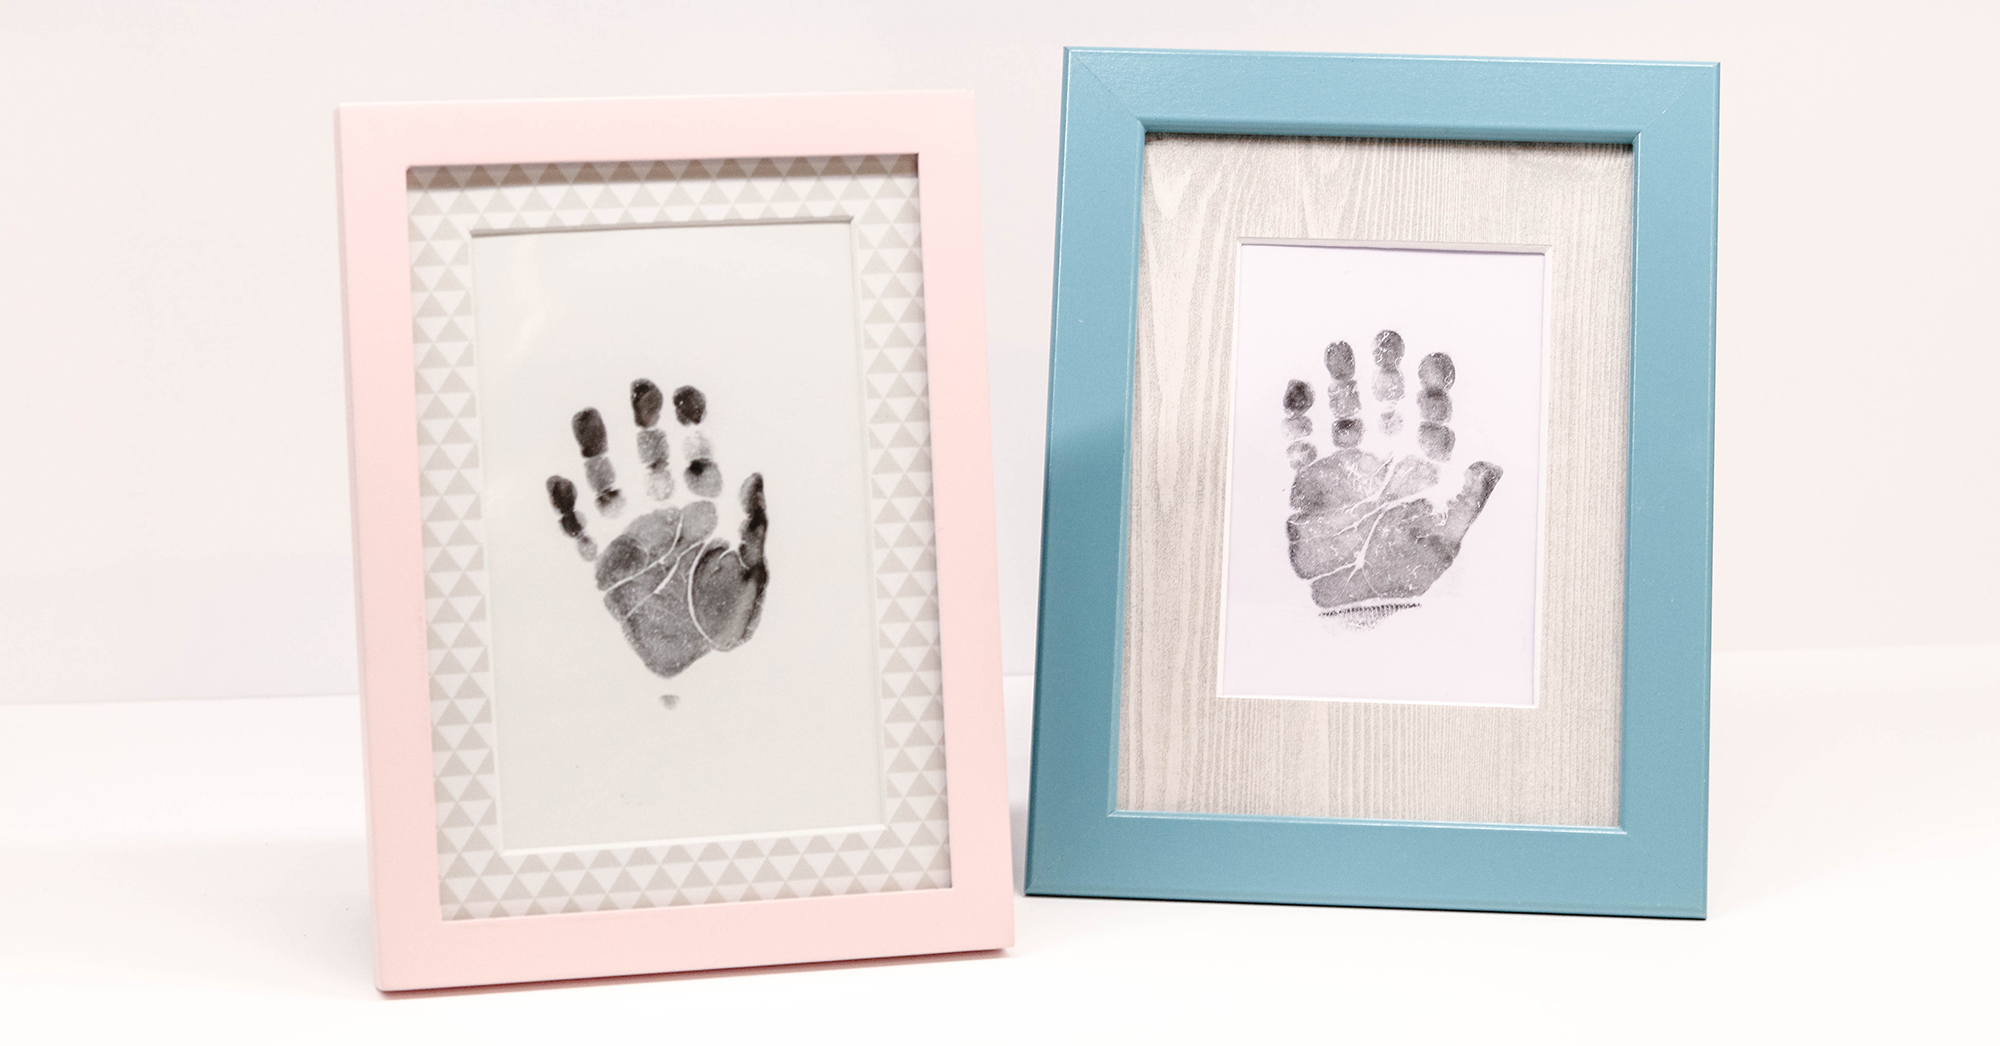
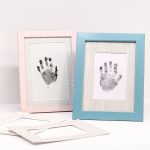
The original pink-framed handprint you see in my photos is from 2016 and was done in 2016 with a mat & frame that were purchased as-is from Target. Upon return in early 2018, I didn’t find this line of frames available any longer…which is why I decided to make my own going forward.
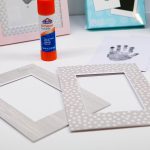
Cut Scrapbook Paper to Fit the Mat
You can trace your mat with pencil onto the backside of the scapbook paper to cut it out by hand. But, I found it was helpful to have a Cricut or Silhouette cutting machine. I have a Cricut Explore Air 2 that I recently acquired through a deal that I separately blogged about.
I had selected scrapbooking paper that was similar to the original mat that I had purchased with the frame from Target. So, I set my Cricut dial to “Paper” and set Design Space to cut a quantity of two per sheet. This would give me a backup if something didn’t work with the first. I oriented my paper the way I wanted it onto the Cricut StandardGrip Mat. Then, used my Saved Project in Cricut Design Space.*
*Note: unfortunately not all of these “standard” mats are the exact same cut size. Found this out when I purchased a few to test out for this project. If you use the saved Cricit Design Space design, please make adjustments to the two rectangular cuts as needed, in order to fit the specific mat that you have purchased.
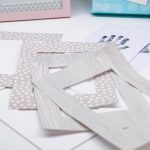
Once I had the scrapbook paper cut out, I chose the best one and glued it to the front of the mat with a glue stick. It was easier to apply the glue to the mat itself and then orient the paper before pressing it down into place to dry.
Position the Handprint / Footprint
Take your print and place it upside down over the opening of the upside-down mat and use the acid-free, photo safe tape along the top-edge of the paper only. This will let it “hang down” inside the frame and let gravity do its work to keep it looking flat.
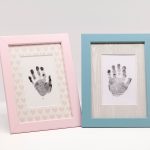
Set the mat into the frame and add the frame backing in the direction you will be hanging or displaying the finished product. And, voila!
Tip: I recommend using a gold or silver permanent marker to add the child’s name, date, and age to the back of the finished product. You may want to reference that years down the road.
I hope you love yours as much as I love mine. ❤
P.S. I loved the look of the one I made in the blue frame so much that I ended up replacing the handprint from the original pink Target frame in a matching IKEA frame too, below. Bet you wouldn’t have even noticed if I hadn’t said something. 😉
Remember to tag me “savingamyblog” on Instagram, Pinterest, Facebook, Twitter with your finished work and feel free to Comment below if I was able to help you or if you have any questions! Enjoy!
Saving Amy is a participant in the Amazon Services LLC Associates Program, an affiliate advertising program designed to provide a means for sites to earn advertising fees by advertising and linking to amazon.com.
Social Follow & Share
New, easy DIY post up on the blog. Share with your expectant parent friends! How To DIY a Mess-Free, Keepsake, Framed Handprint / Footprint of Your Little One https://t.co/QYHFXHnLsP #babykeepsake #babyhandprint #babyfootprint #custommatframe
— Saving Amy (@savingamyblog) December 10, 2018
View this post on Instagram