In this eight-post blog series, I’ll review the step-by-step details on how my husband and I transformed our master bedroom, walk-in closet, and bathroom – all do-it-yourself and with budget-conscious decisions, materials. Follow along from the beginning of our journey to the project completion for inspiration, encouragement, and knowledge that you can put to use.
In the last post, Part 3, we reviewed Furnishings, Decor & DIY Painting Dresser, Side Tables. Here, we review DIY Wood Planked Accent Wall in Part 4. You can easily jump between all parts of the project here:
- Master Bedroom Retreat, Overview: Before & After
- Master Bedroom Retreat, Part 1: DIY Painting Walls
- Master Bedroom Retreat, Part 2: DIY Walk-in Closet Makeover [Video]
- Master Bedroom Retreat, Part 3: Furnishings, Decor & DIY Painting Dresser, Side Tables
- Master Bedroom Retreat, Part 4: DIY Wood Planked Accent Wall – you’re reading it!
- Master Bedroom Retreat, Part 5: DIY Upcycled Mantel Headboard
- Master Bedroom Retreat, Part 6: DIY Tufted Headboard & Accent Pillows
- Master Bedroom Retreat, Part 7: DIY Bathroom Makeover on a Budget
Let’s Get Started with the Wood Planked Accent Wall
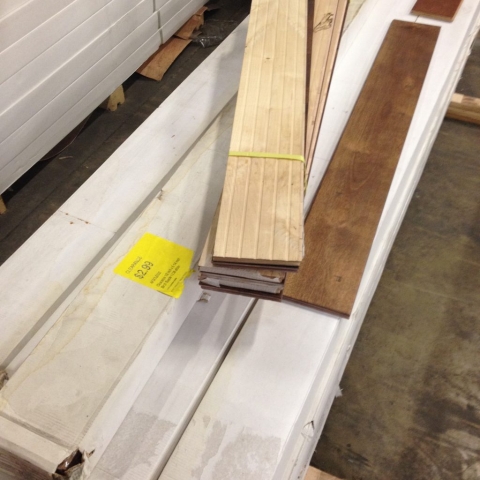
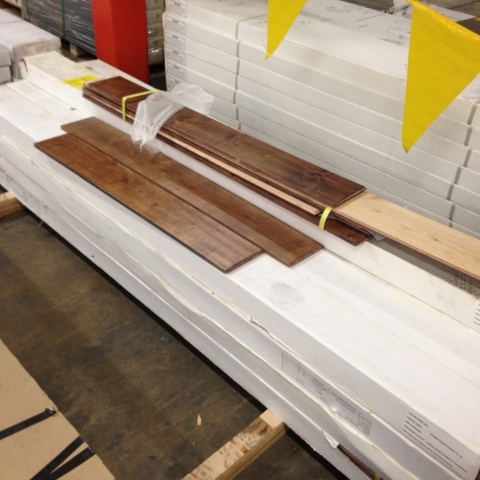
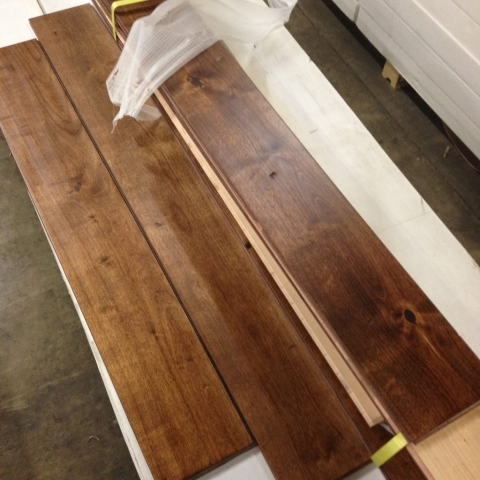
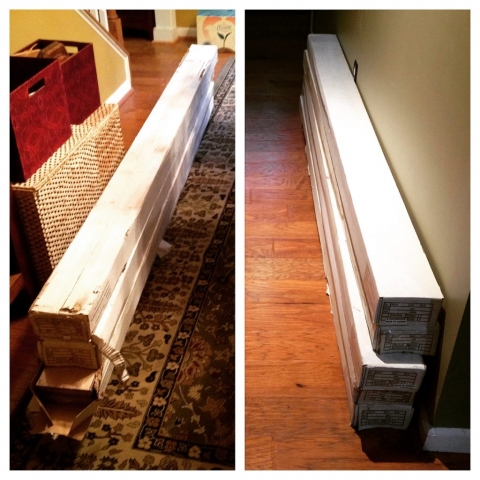
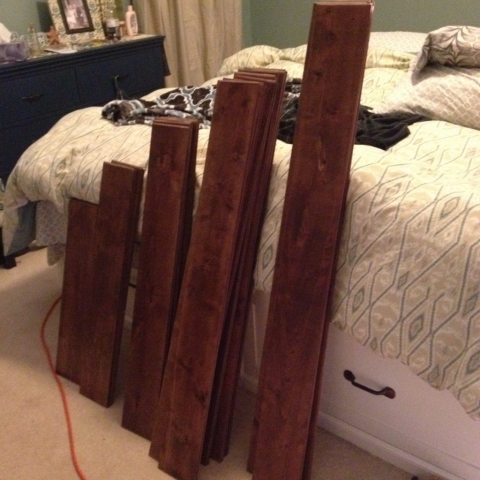
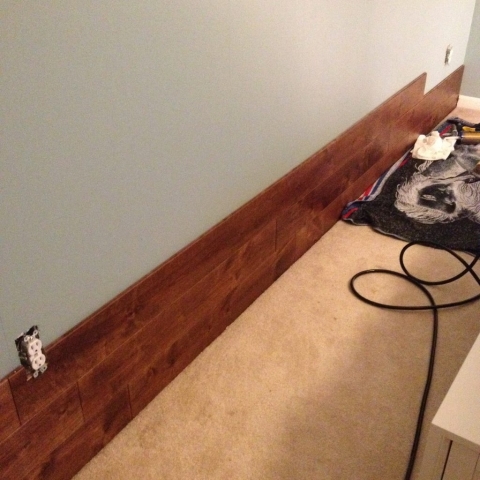
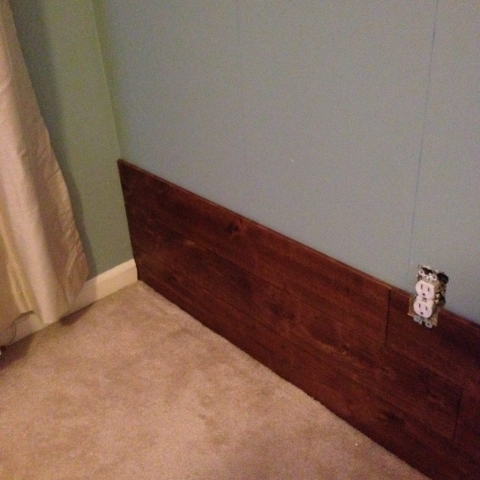
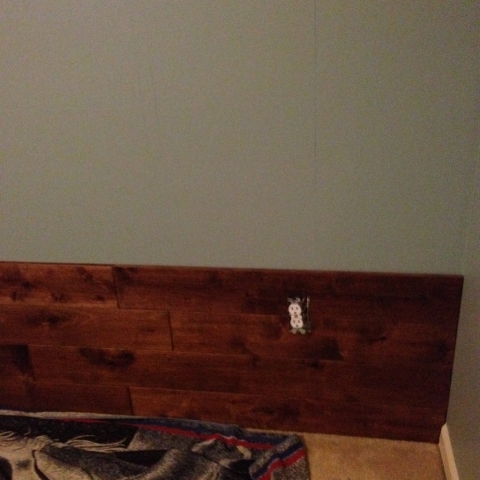
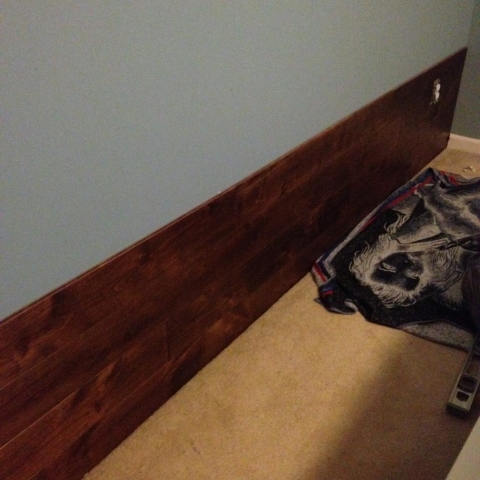
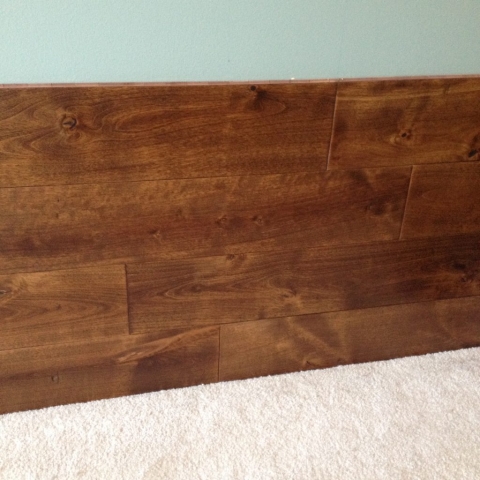
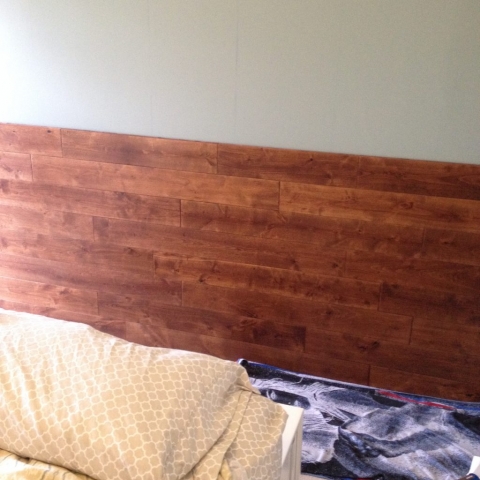
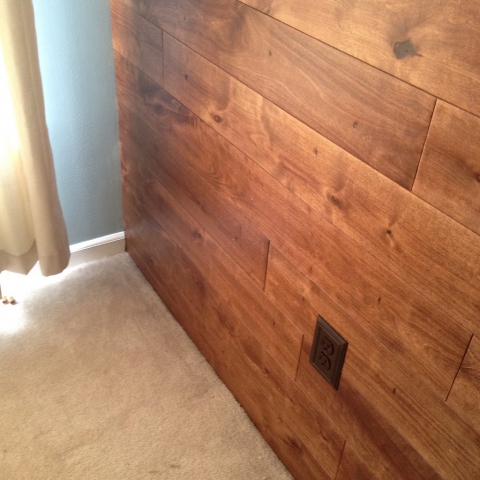
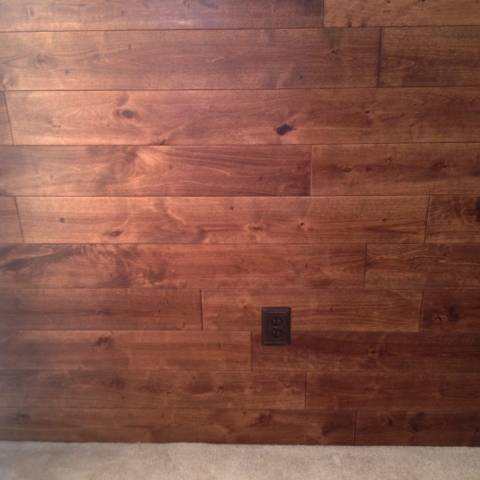
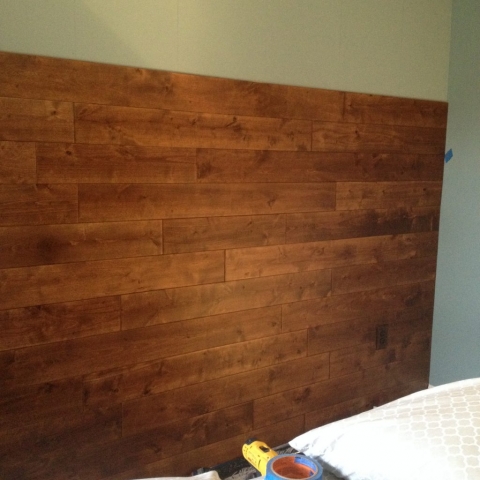
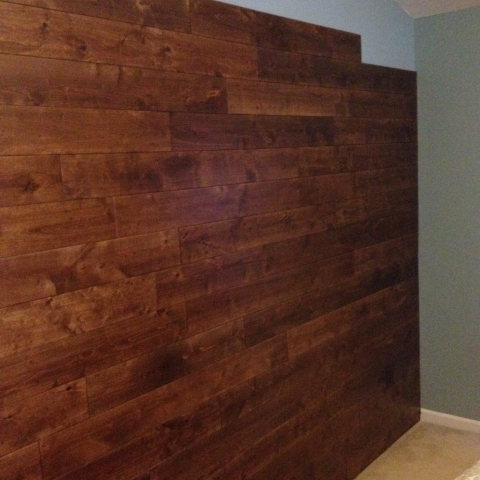
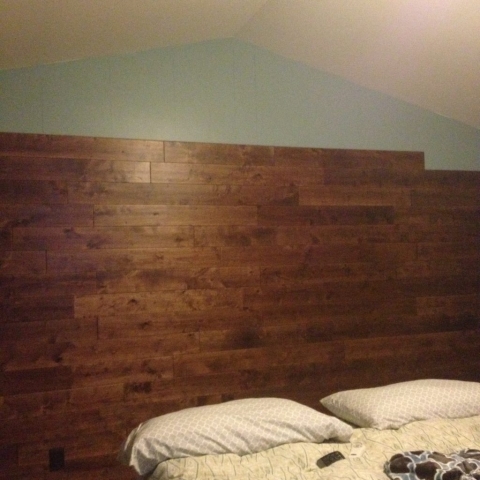
We found Birch Suede hardwood on deep discount at Wood Floors Plus in Glen Burnie, MD, after shopping around at several home improvement, discount lumber, and reclaimed lumber stores. We were looking for something not only we would like, but already matched the other styles / colors in the house and a future homeowner would love it as much as we do.
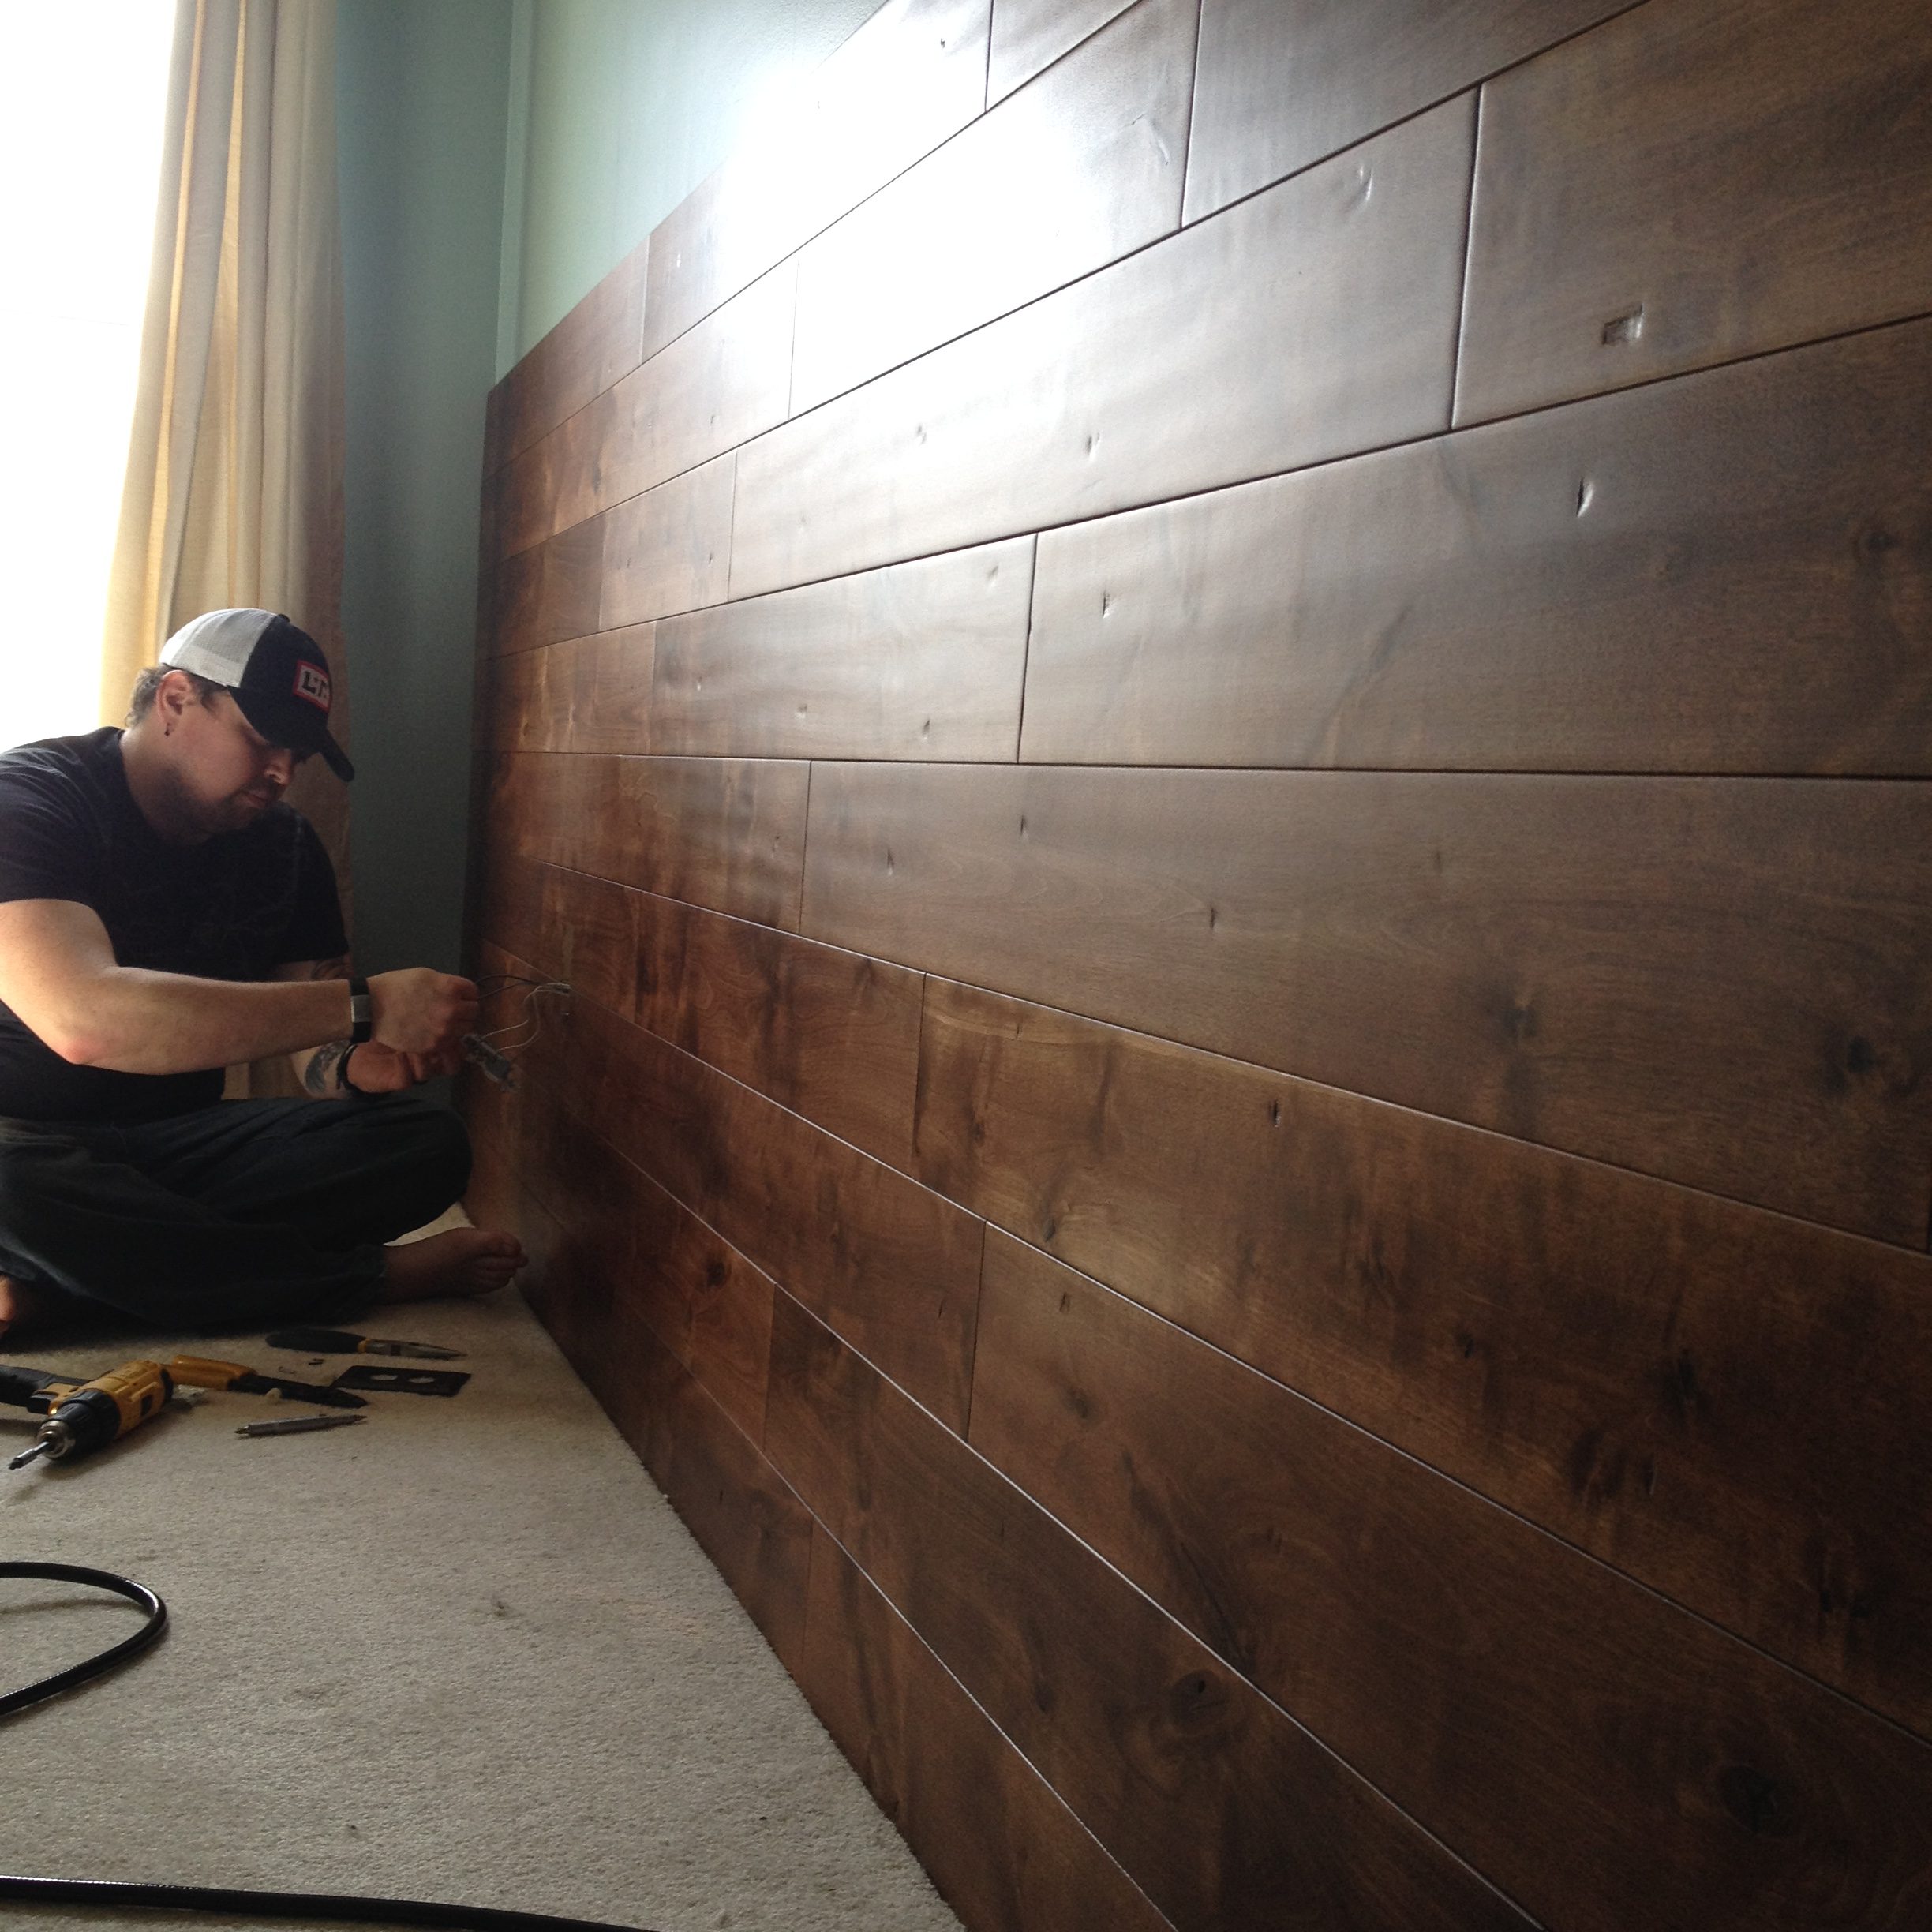
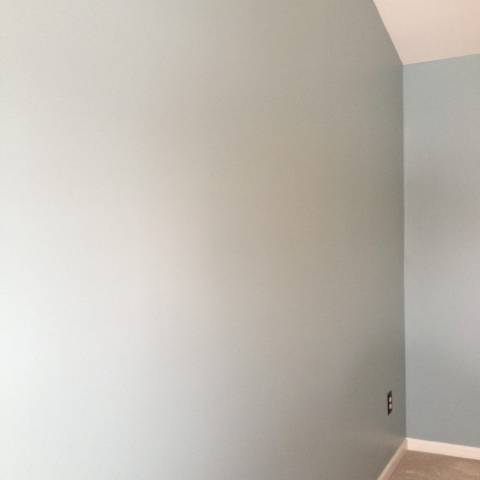
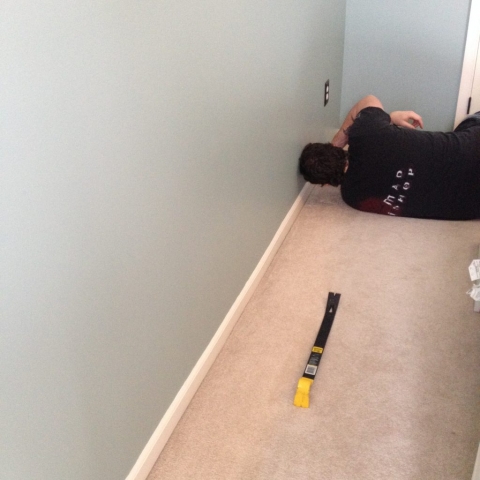
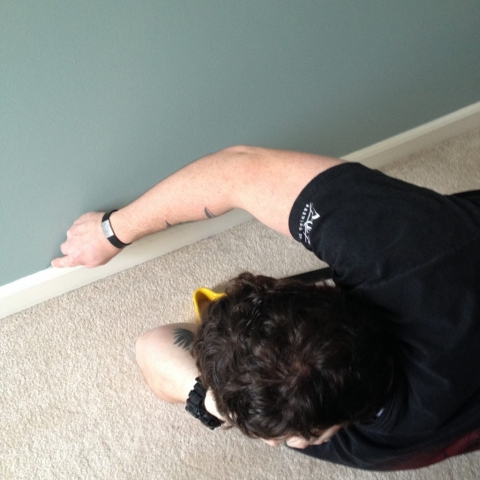
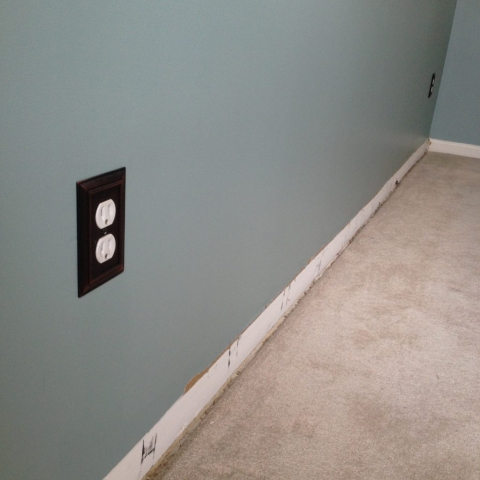
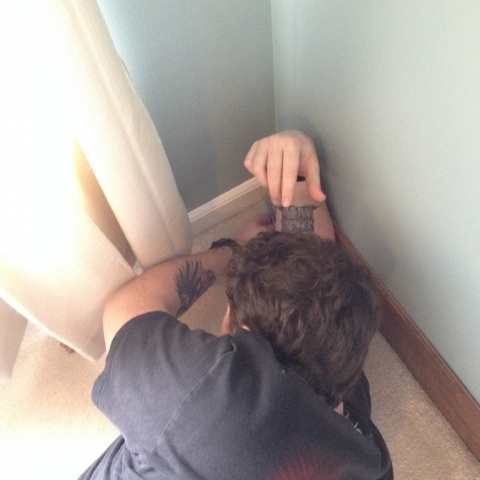
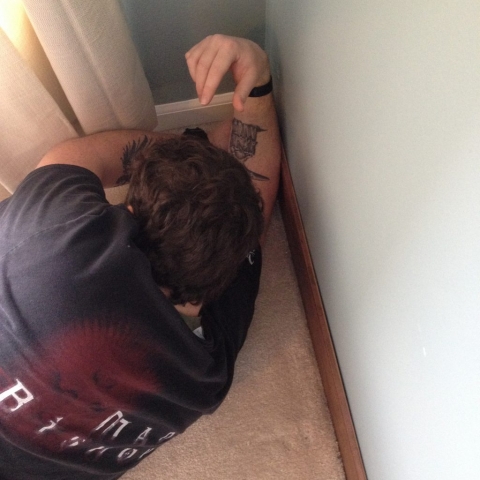
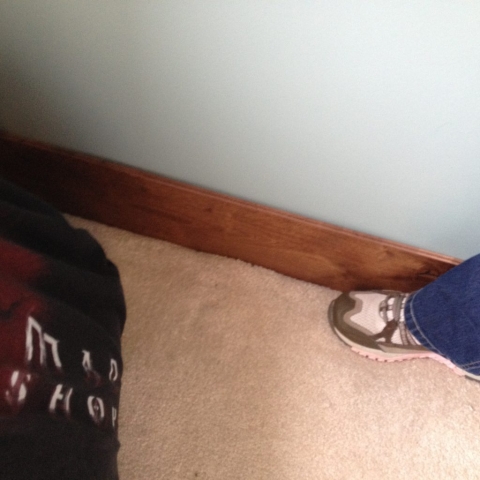
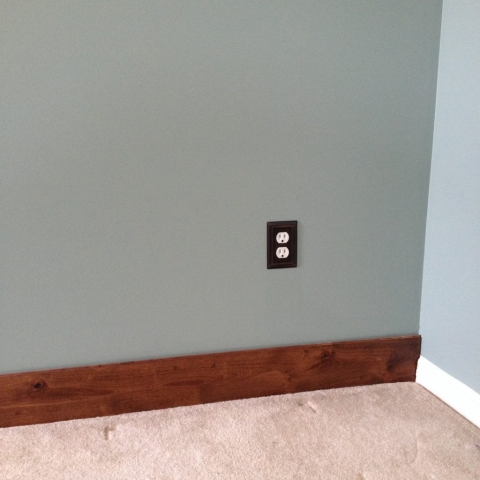
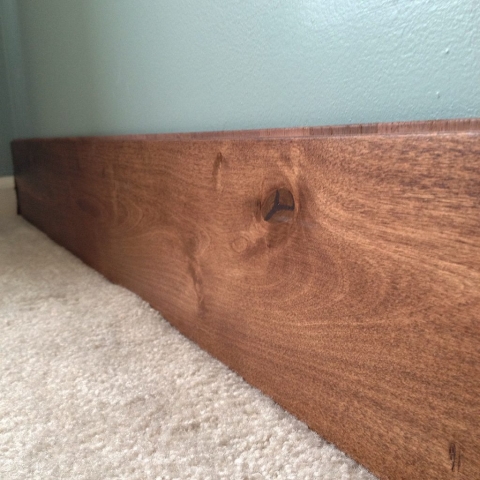
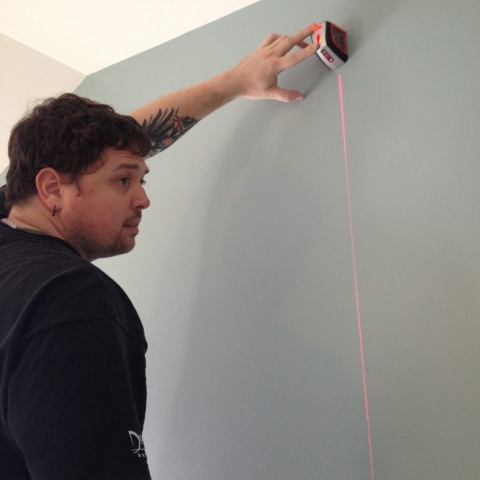
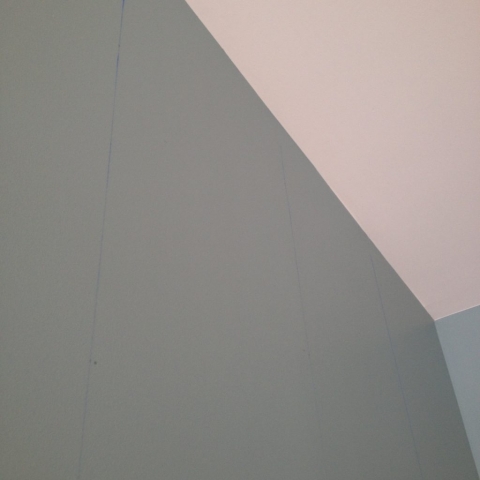
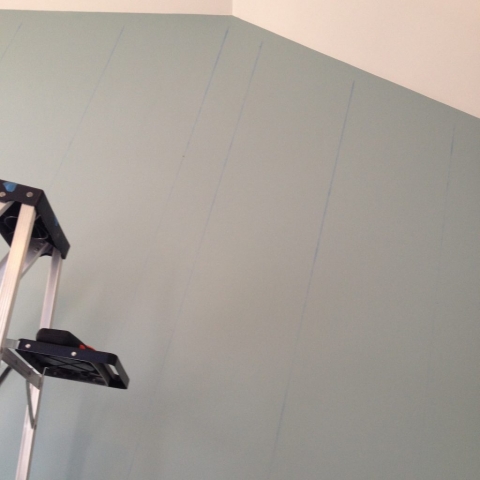
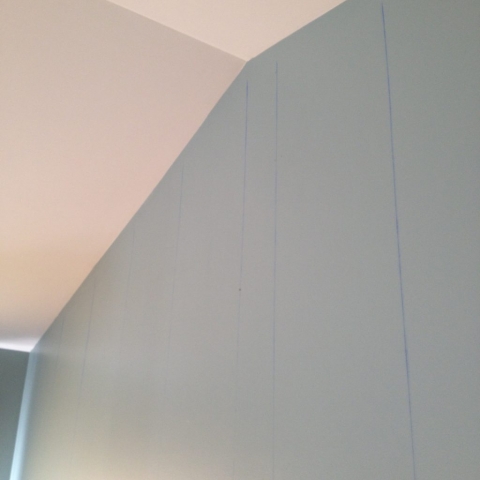
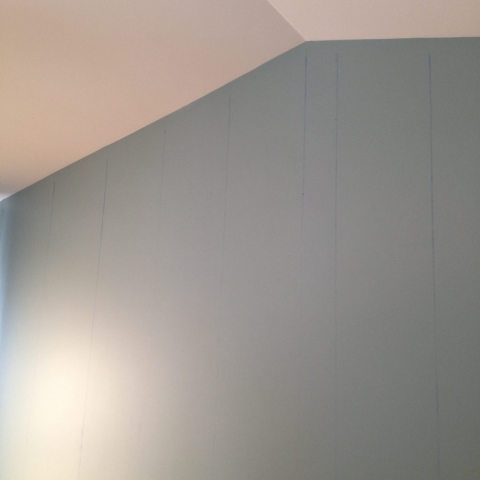
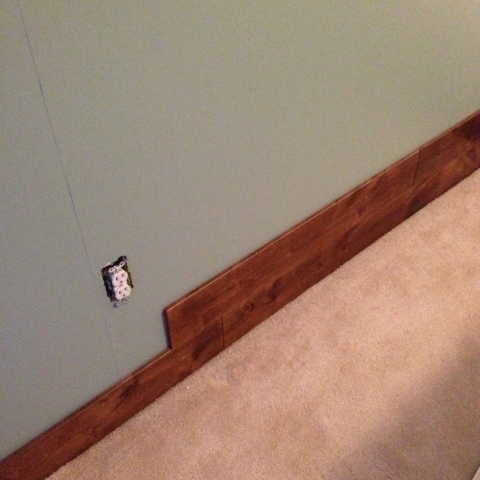
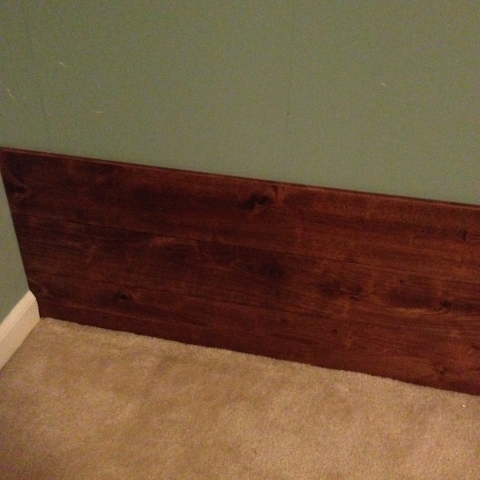
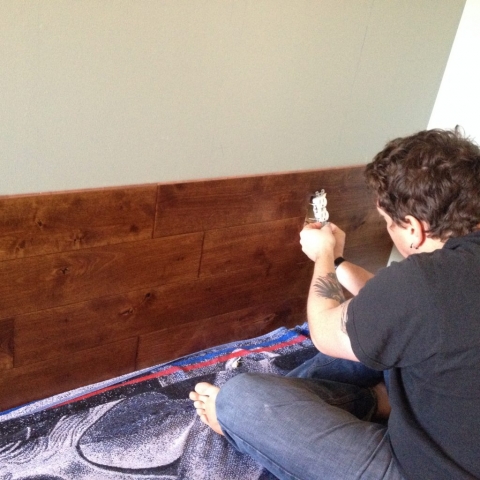
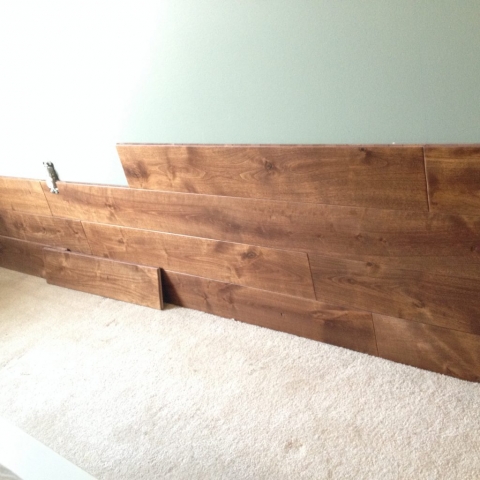
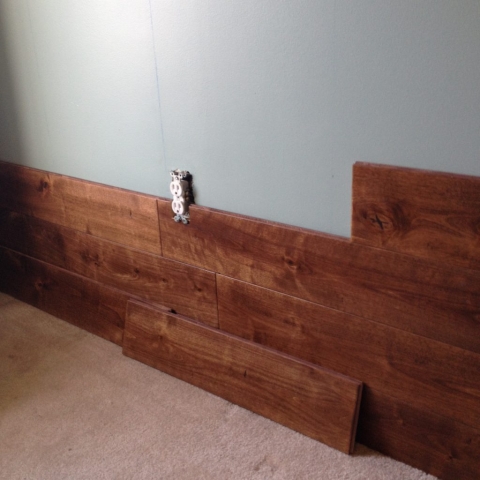
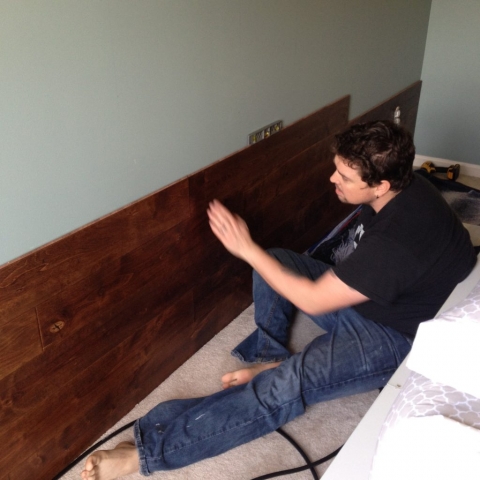
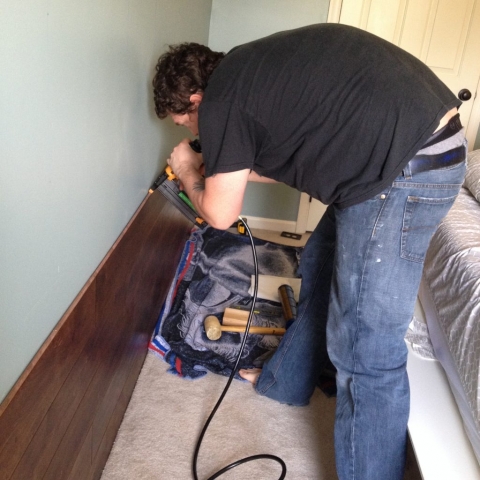
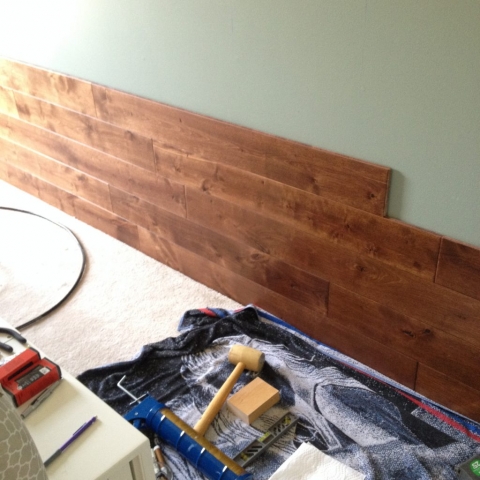
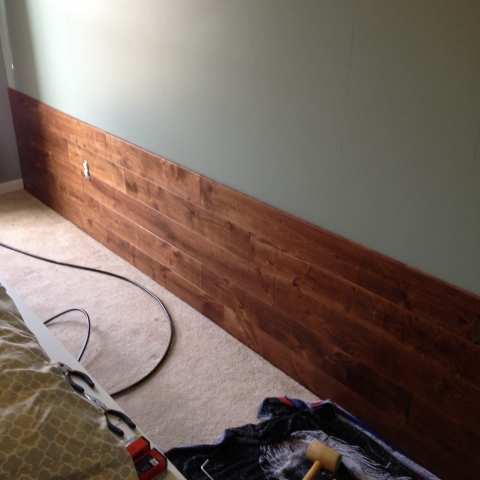
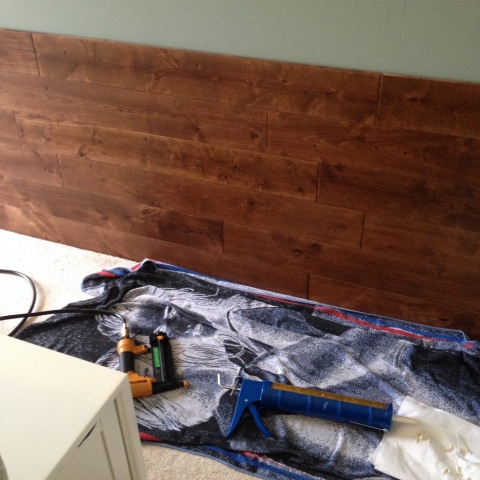
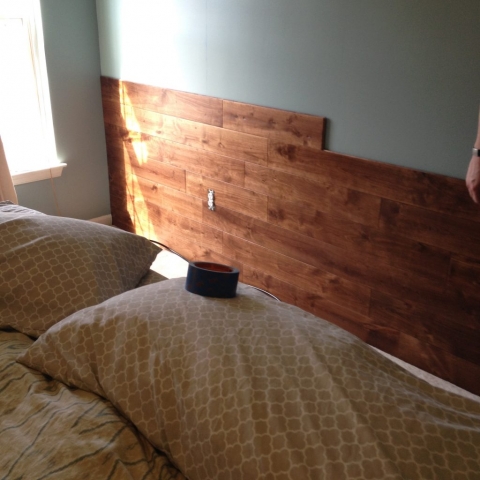
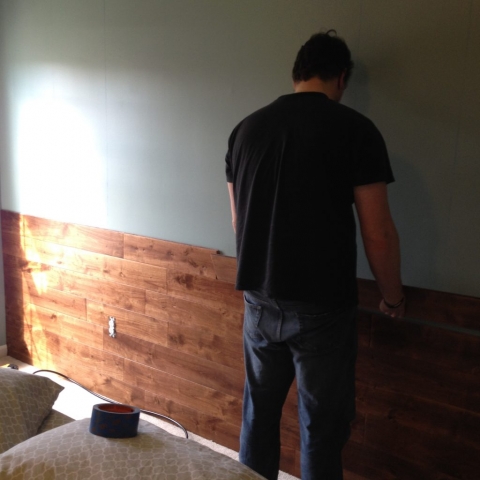
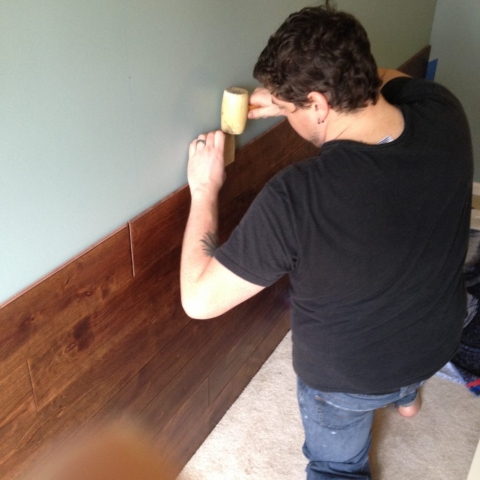
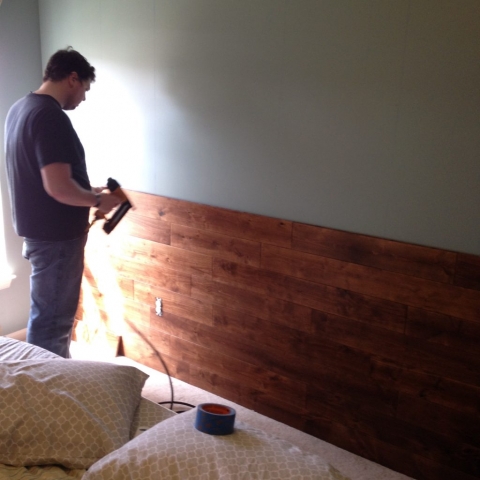
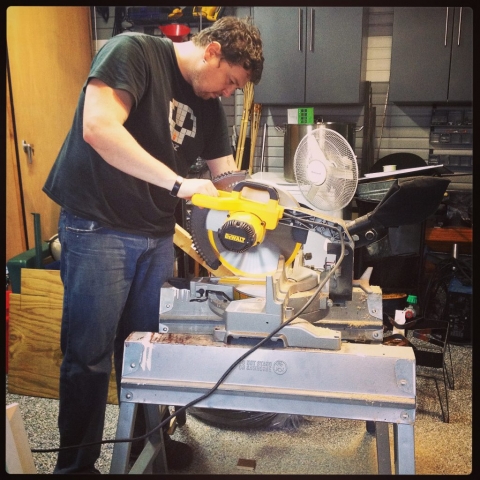
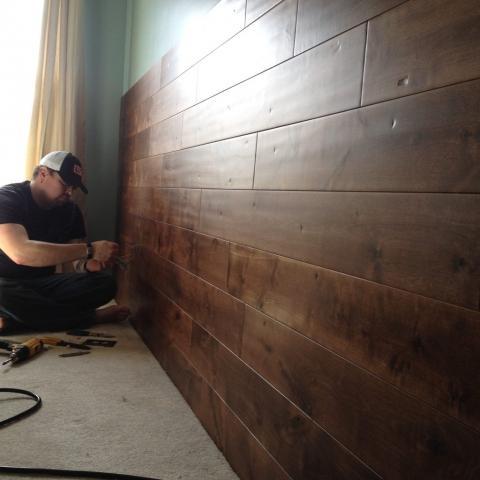
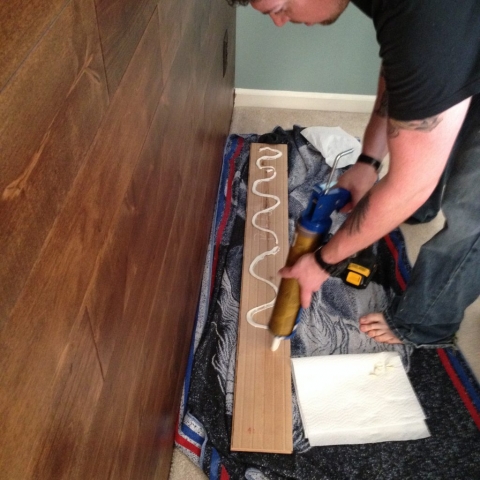
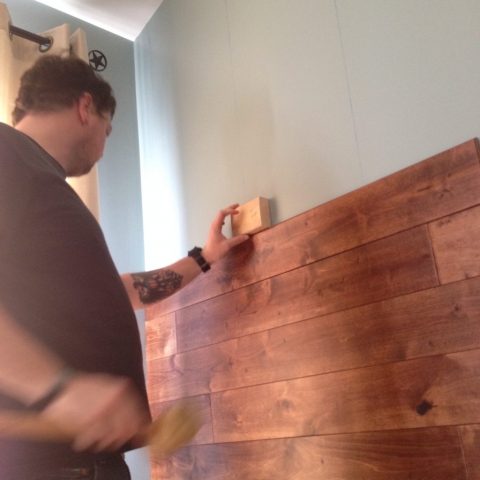
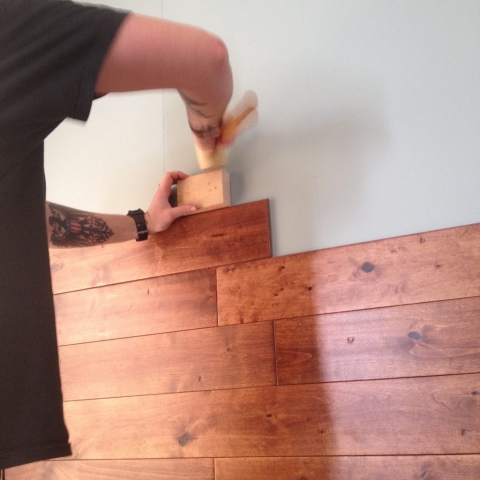
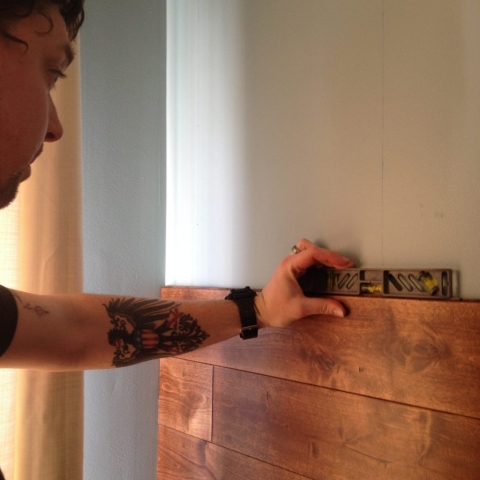
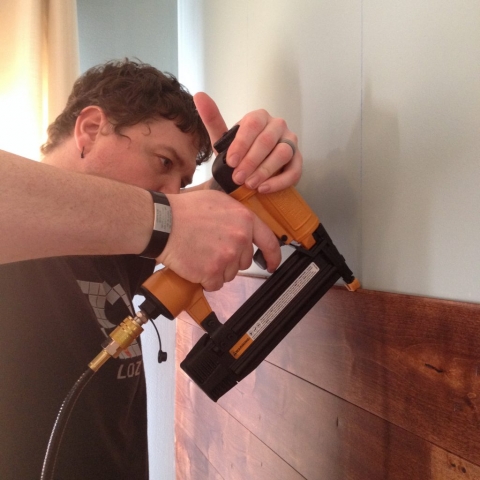
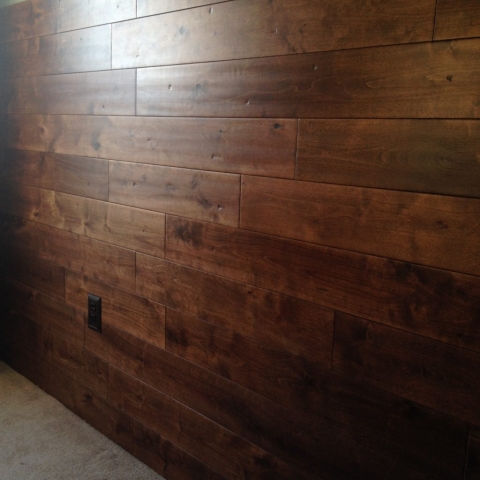
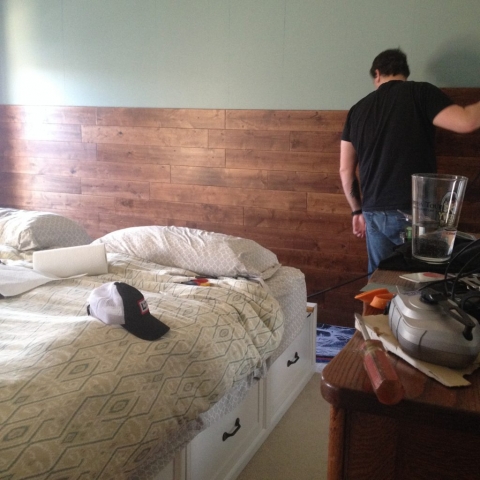
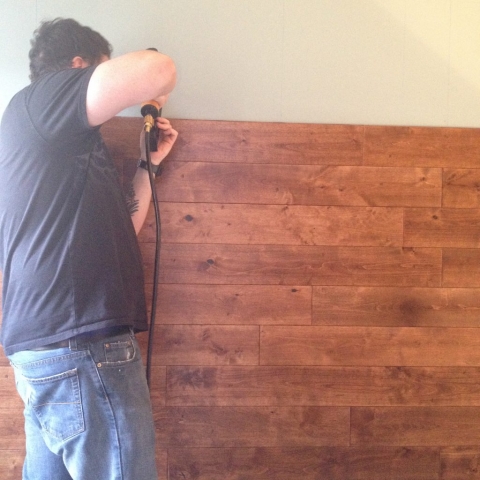
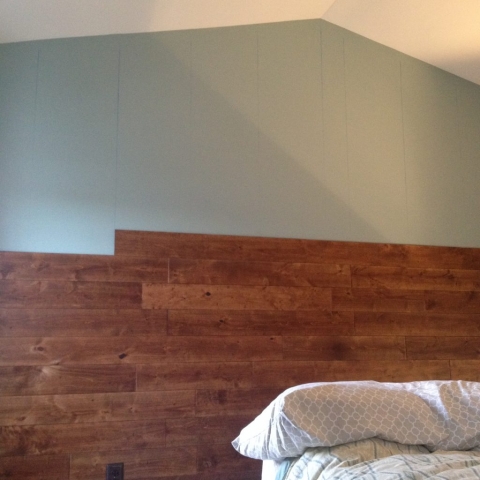
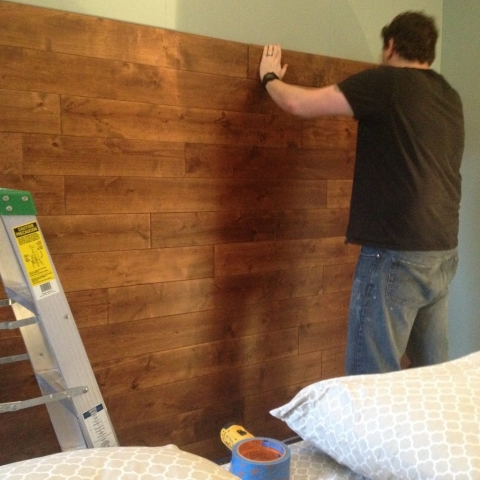
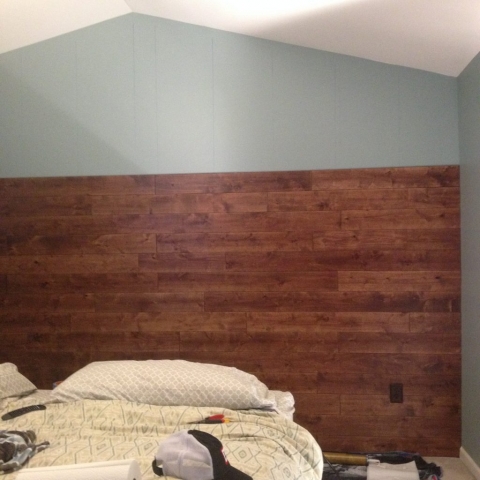
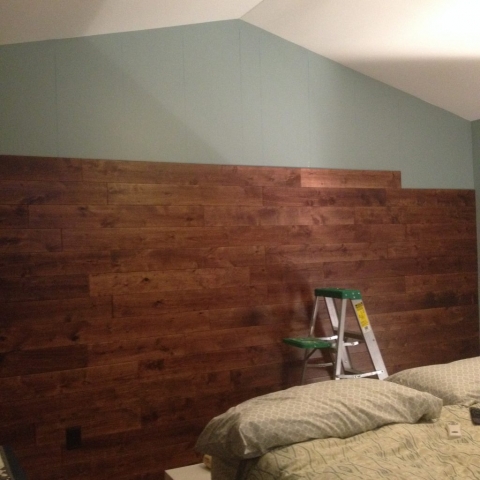
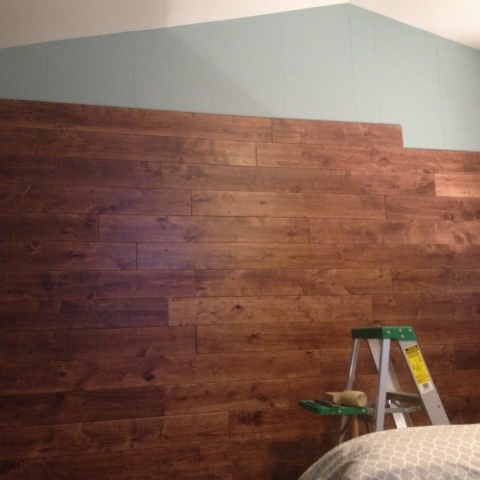
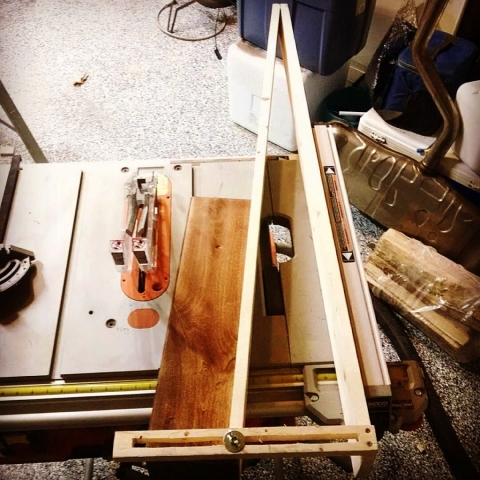
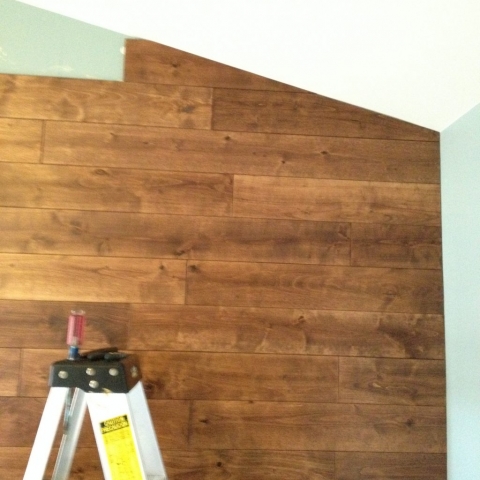
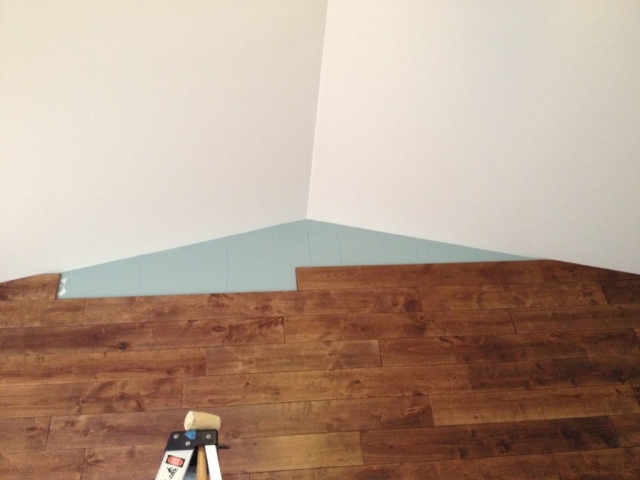
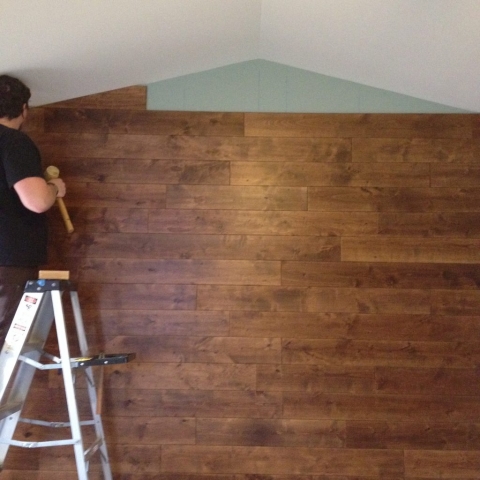
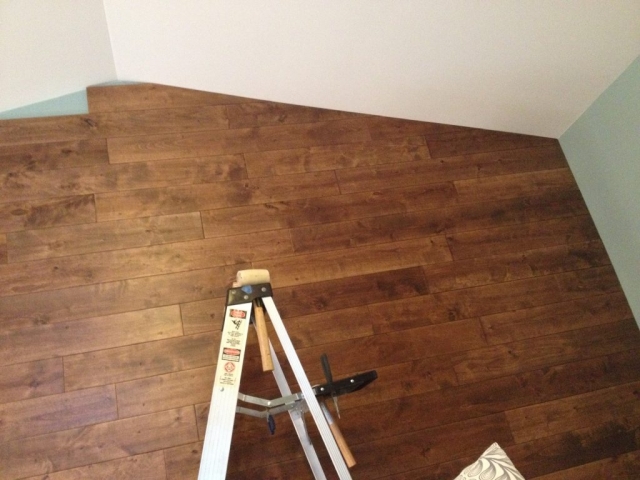
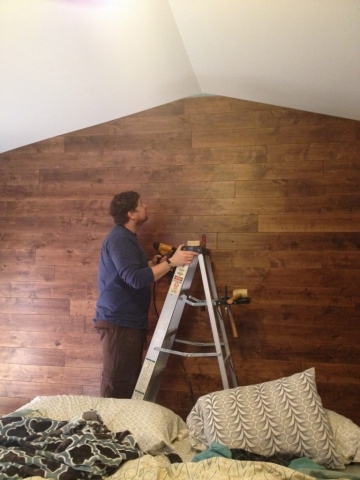
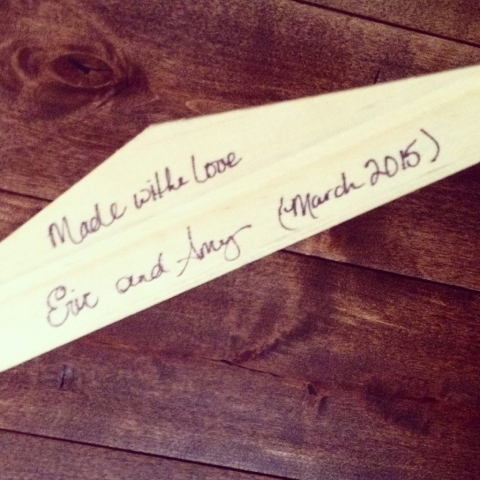
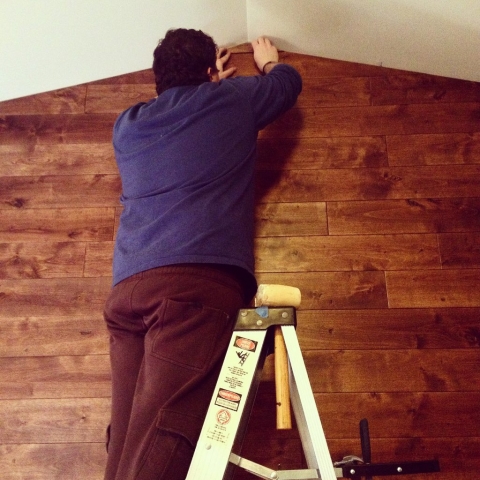
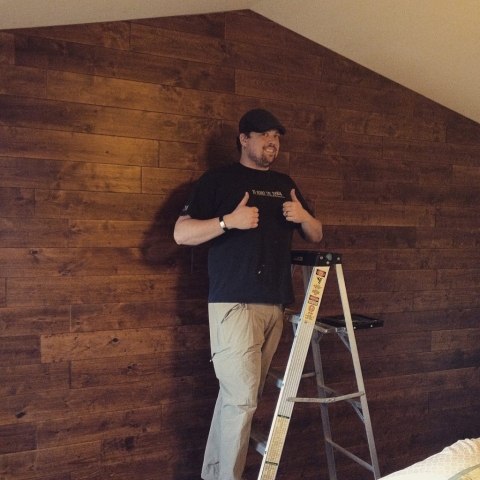
The project consumed two full consecutive weekends. Once the baseboard trim was removed with a pry bar, the wall was marked with blue chalk to show where the studs were. Each board was carefully leveled, hammered into place with a rubber mallet after being glued, and then nailed inconspicuously along the tongue. Any scuffs were touched up with furniture markers. We had to remove the tongue off the row prior to the last row at the top, otherwise, there would have been no way to slip the final boards in place. We built a DIY jig (YouTube video referenced) in order to cut the pieces just right to fit into the vaulted wall space. We made sure that none of the seams vertically lined up from one row to the next, creating a brick-like pattern. Finally, we replaced the two electrical outlets in brown on the wall, to help “hide” them among the wood.
Once the wall was complete, we were able to reuse a “sun” shaped mirror I had purchased off of Amazon years prior, that used to hang in my living room. We had debated painting it to pop out more from the wall, however we ultimately left it the original color.
Next up: Master Bedroom Retreat, Part 5: DIY Upcycled Mantel Headboard – giving new life to existing materials.

