
At the time our home was constructed in 2007, there was the option to upgrade nearly anything and everything in the house. Naturally, that can be a bit costly. Luckily the upgrades were placed where they really mattered (in square footage and in the Master Bathroom vanity, for instance). But, that left fairly basic oak-colored contractor-grade vanities in the bedroom-level, hallway bathroom and also in the finished basement bathroom. The powder room on the first floor came with a pedestal sink which we later swapped out for a storage-style vanity at Costco.
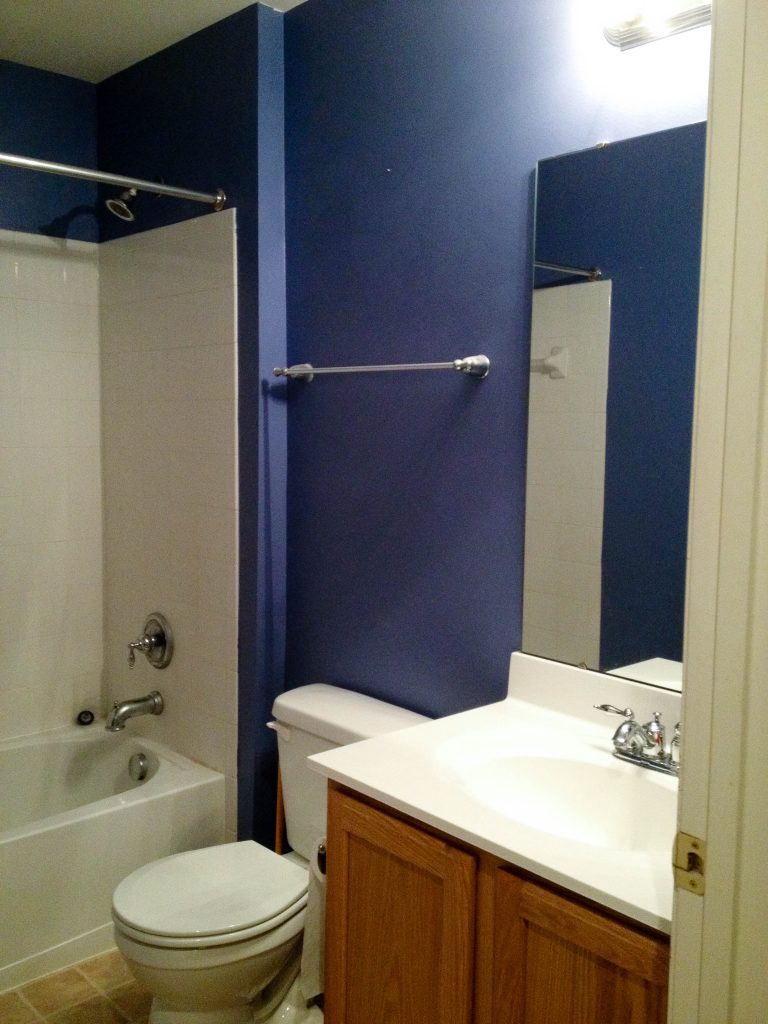
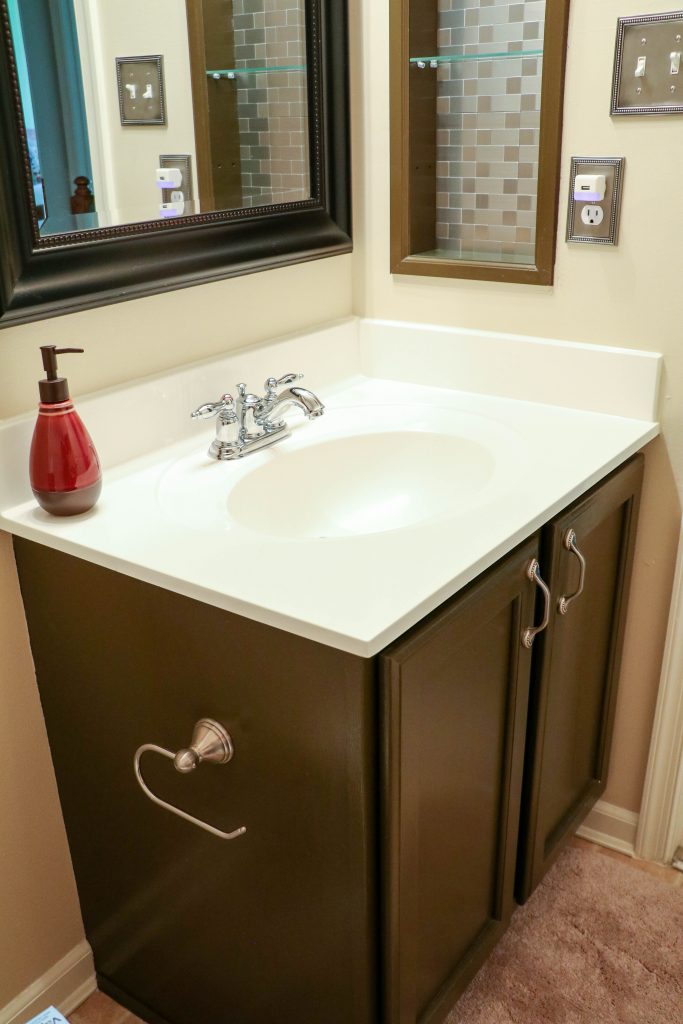
In 2014, when we performed a “light makeover” in the bedroom-level, hallway bathroom, including repainting the walls to a more neutral color, we also decided to repaint the oak vanity in a deep “Dried Leaf” brown…a contrast to the wall color.

You may have seen my 2016 post on turning our Master Bedroom into our own oasis, at which time we had bought an inexpensive, lightly-used dresser and side table combo at Model Home Interiors Clearance Center (Elkridge, MD) that we repainted in colors to accentuate our new bedroom palette. I applied the same technique to our bathroom vanities as I had applied there. That was to:
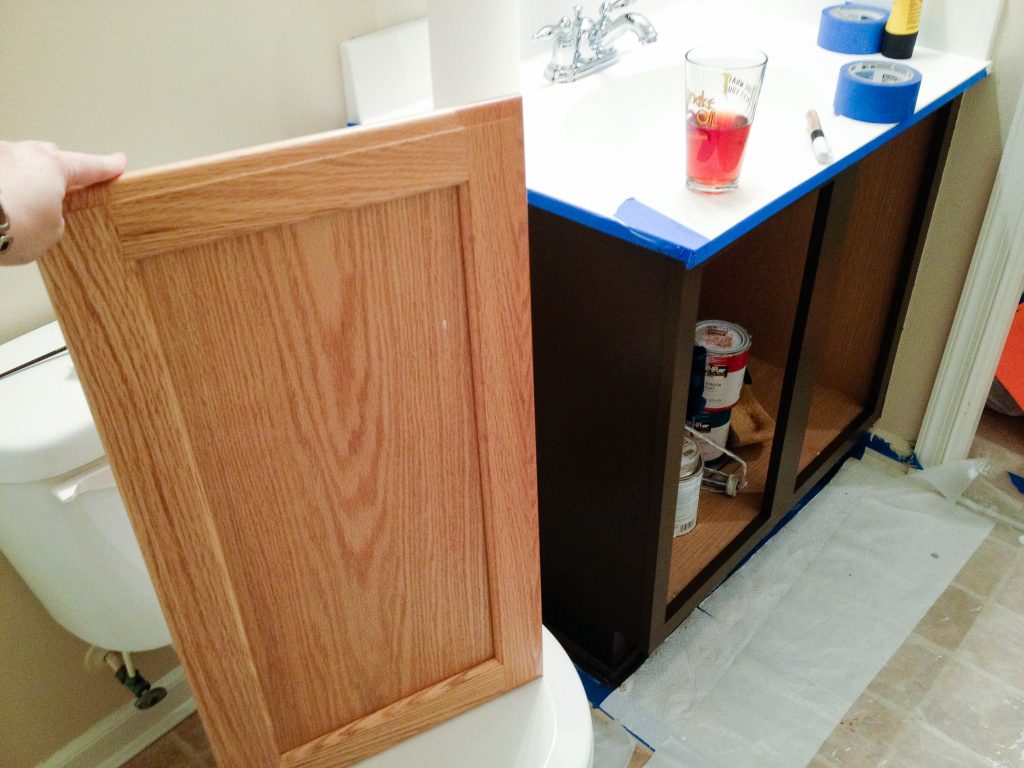
- Remove the doors from the vanity, as well as the hinges and door handles
- Lay drop cloth, tape out any necessary surfaces
- Lightly sand all paintable surfaces with 180-220 grit sandpaper
- Wipe down the sanded surfaces with a lightly damp sponge
- Apply a primer coat of Kilz, let it ample time to dry
- Lightly sand the Kilz coat with 180-220 grit sandpaper
- Apply first coat of Behr interior Dried Leaf in Semi-Gloss, dry thoroughly
- Lightly sand the first coat with 180-220 grit sandpaper
- Reapply a second coat of the paint color, allow ample time to dry
- Determine, based on the saturation and coverage, whether the steps need to be repeated for a third coat
- Once the final coat is dry, you may want to sand any bumpy surfaces, but be careful not to be too harsh, it may show through on the final product
- Last, apply a clear Semi-Gloss coat of Minwax Polycrylic in two coats, with a thorough drying in between
- Once all was dry, reassemble the doors and hardware (perhaps purchasing new hinges and handles to match the towel racks, switch faceplates, etc. in the bathroom)
- Stick clear or felt bumpers to the two corners of each door on the side that will close against the vanity and/or where they will bump the wall when opened
I found paint brushes to be easiest to apply all paint and poly, since I was dealing with such a small space. I did use rollers on the furniture I mentioned earlier in this post. Just remember, use inexpensive brushes with Kilz, since you are likely to throw them out when done…just too difficult to clean.
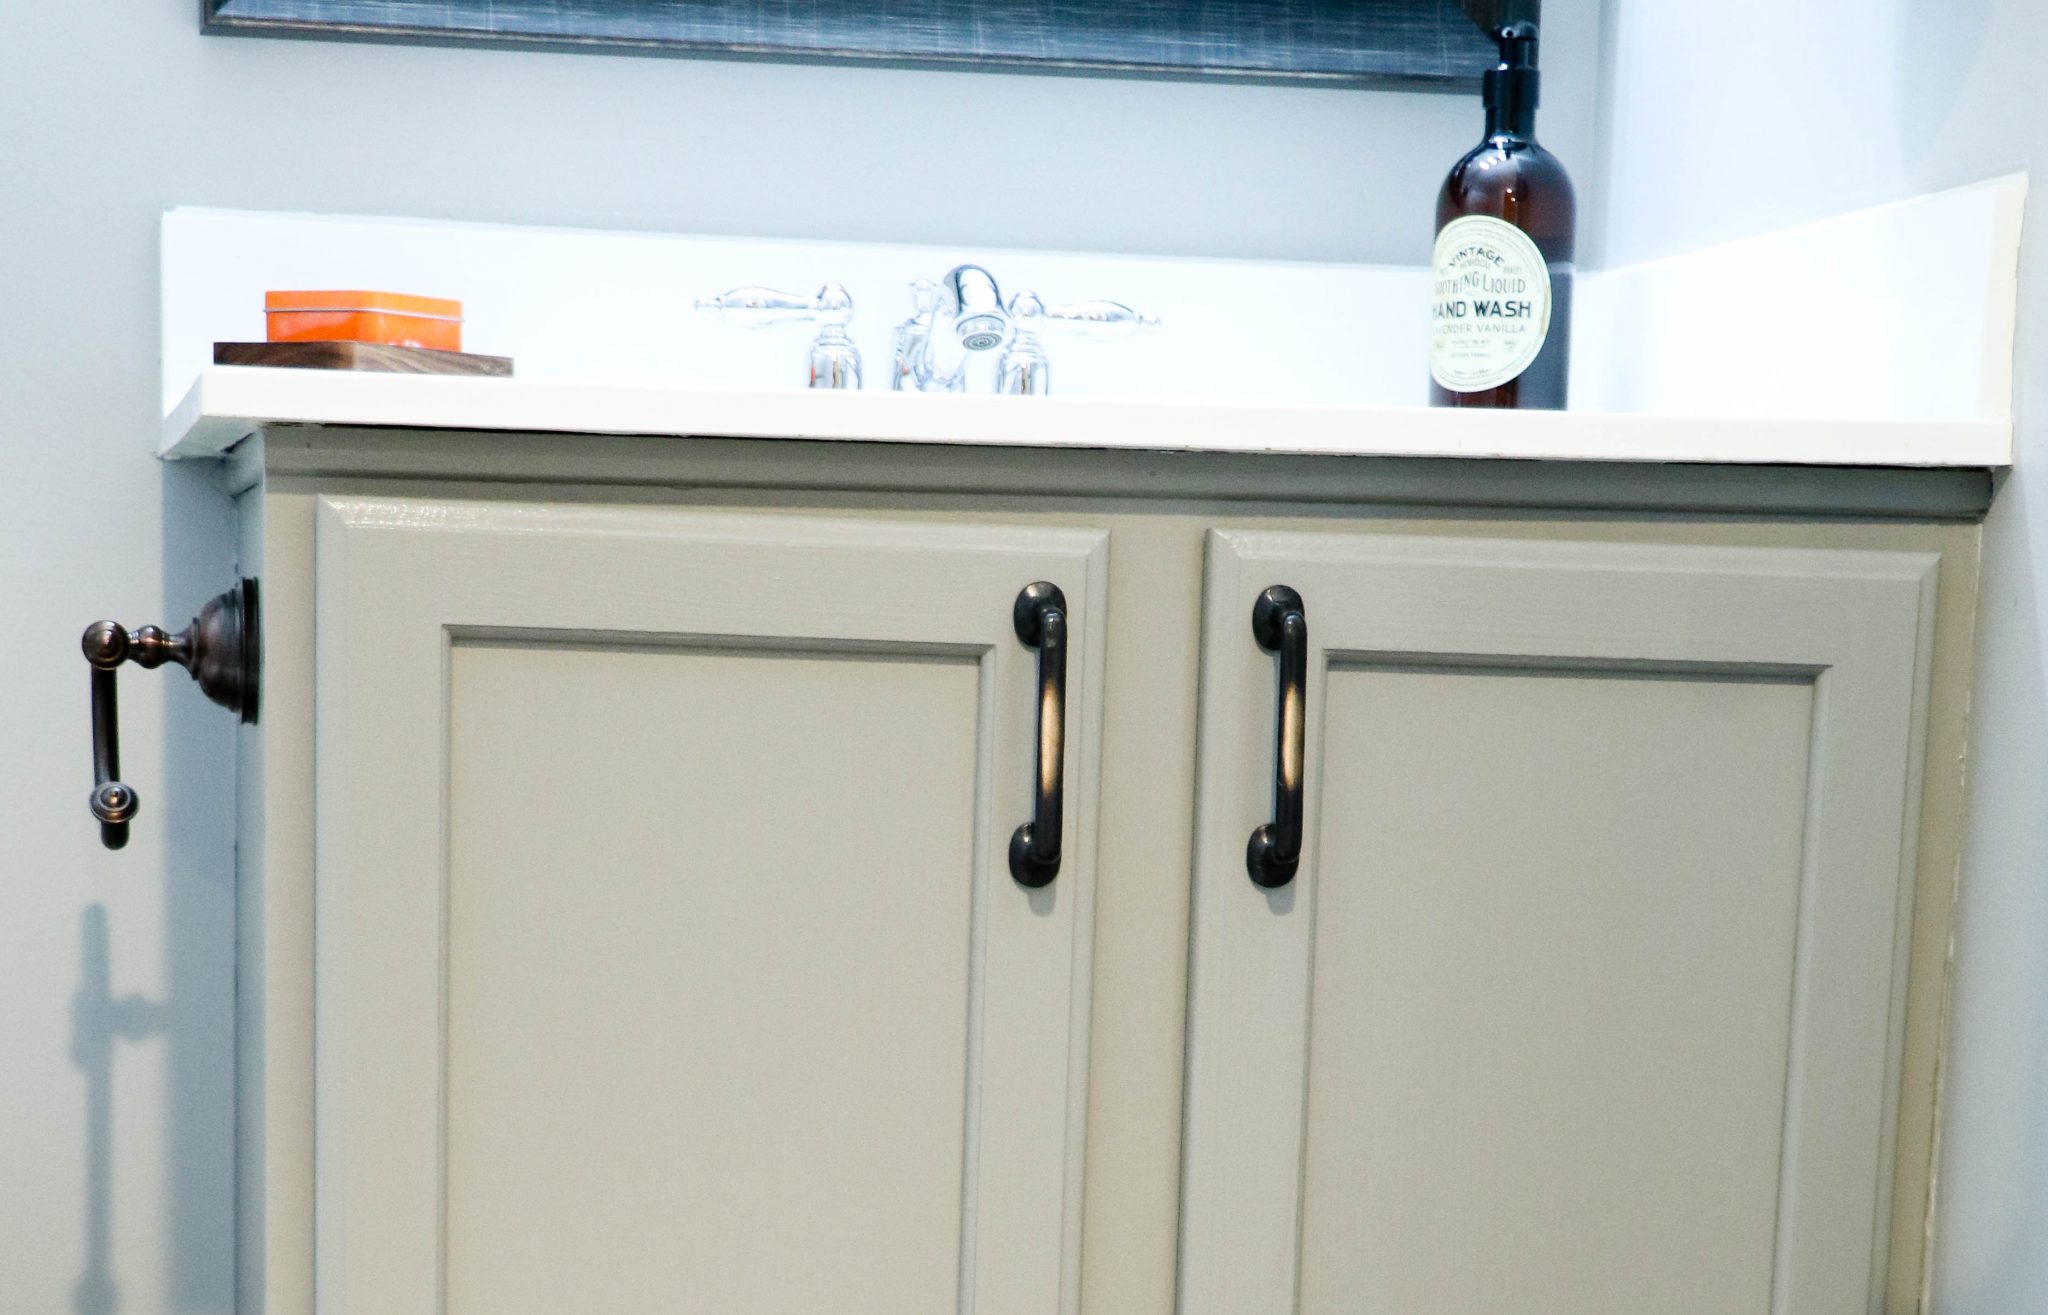
In late 2016, when we tackled a “light makeover” to our basement bathroom, we replicated the above steps using a complementary, interior Behr Elephant Skin paint in Semi-Gloss. We selected this color to exactly match a set of built-ins we had installed by California Closets just outside the bathroom. We also found online new vanity door handles that matched exactly to the handles we ordered with the built-in install.
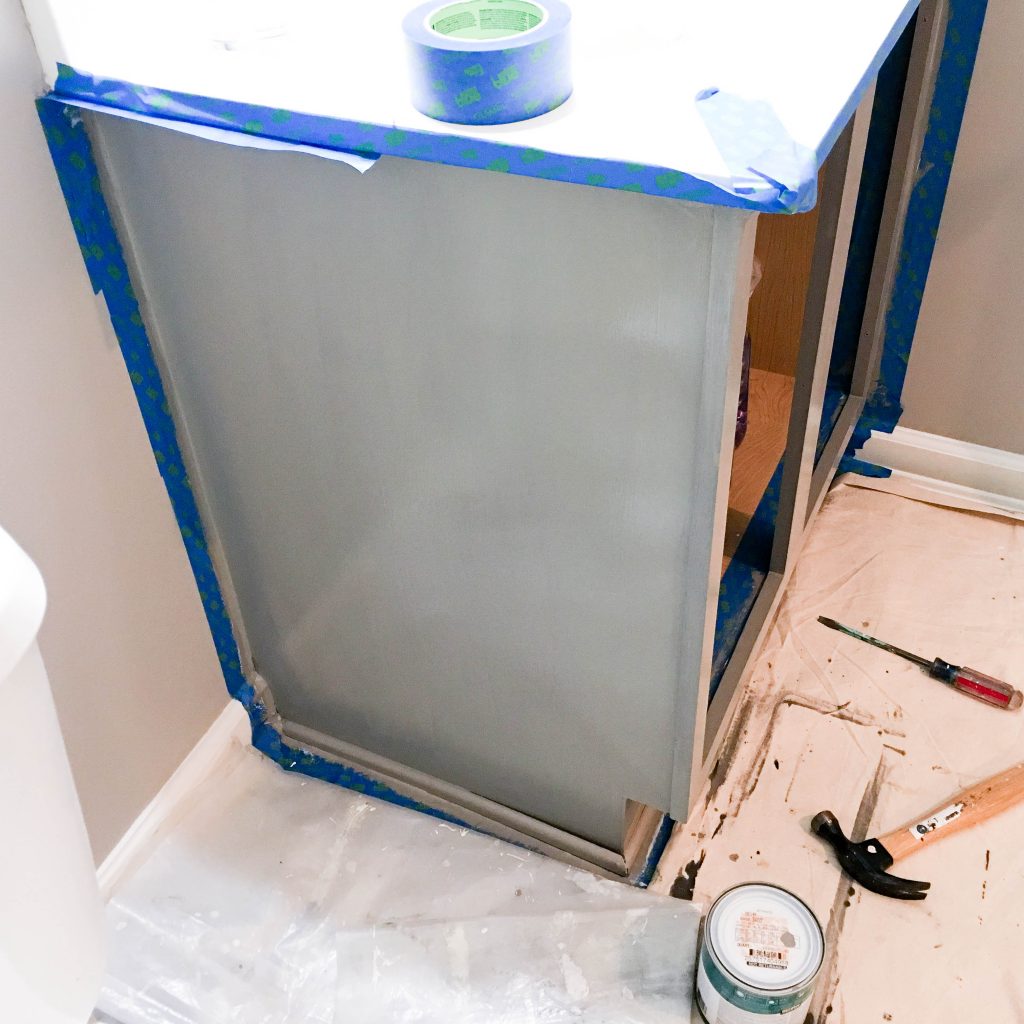

The end result is that they now look more cohesive in their respective places and not contractor-grade anymore.
Social Follow and Share
Painting Bathroom Vanity & Furniture Guide https://t.co/nq67lyE76k Don’t replace it, paint it! #paintedfurniture #bathroomvanity #makeover pic.twitter.com/gRTTTccJLw
— Saving Amy (@savingamyblog) June 7, 2017
Saving Amy is a participant in the Amazon Services LLC Associates Program, an affiliate advertising program designed to provide a means for sites to earn advertising fees by advertising and linking to amazon.com.