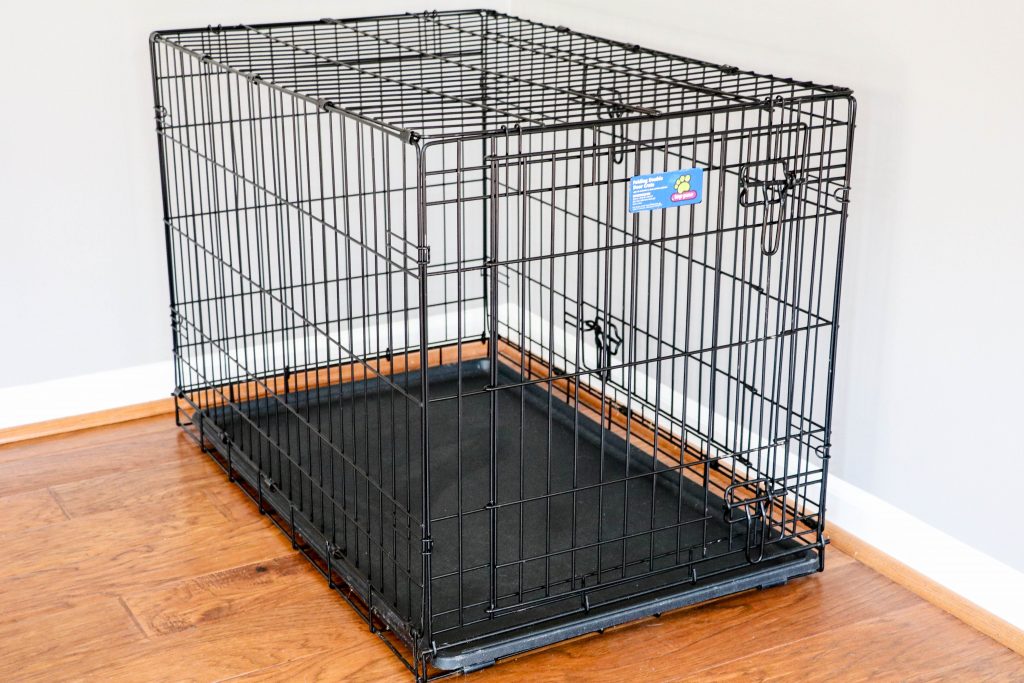
We have three dogs and one cat, by marriage, about two too many. They’re all either in their senior years or soon to be there. One of our dogs in particular was kennel-trained by her rescue foster care at a young age and through many and many attempts over the years was never able to break the training. This happens to be the most senior of all the animals. Even when the kennel door is wide open, you’ll often find her sleeping in there. Anyone that knows dogs well, know that they think of these as their “bedrooms,” not as “cages.” So long as you never use it as a place of negativity.
The kennel resides on the first floor of our home, which is a relatively open space. The most natural place to put the kennel was in our first-floor bonus room. Well, fast forward a couple of years, and you’ve got a near-2-year-old toddlin’ around the house and another baby on the way in just a couple of months. The toys are out of control, and to get them a bit back under control we decided to turn that bonus room into a multi-use space for kids to play, read, relax. The naturally open-air kennel, that seemed to produce a never-ending supply of dog fluff, and toys for babies didn’t seem like a good mix. We wanted to find a solution that would help keep the hair at bay and make the kennel look a little more homey in the space we were about to convert. IKEA hack … to the rescue!
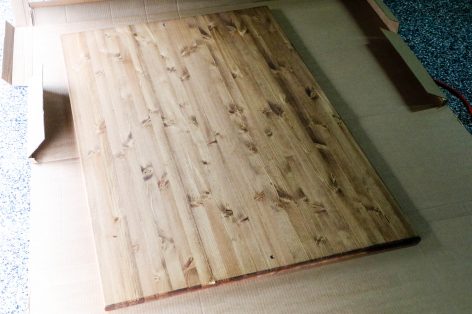
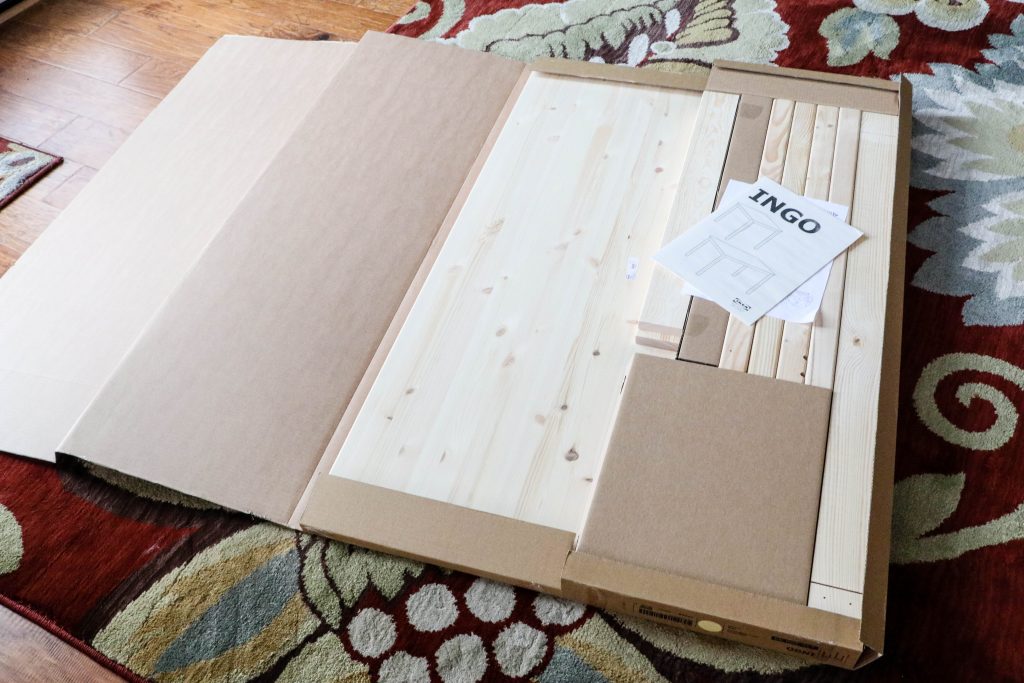
We thought perhaps we could find a piece of furniture at our local IKEA store that we could easily convert into an open-air cover for the 36″ deep x 22″ wide x 25″ tall black wire kennel. And, on a recent trip we did … the US$69.00 INGO Pine Table. The table measured 47.25″ deep x 29.5″ wide x 28″ tall (with a 25″ clearance), perfect for our kennel size.
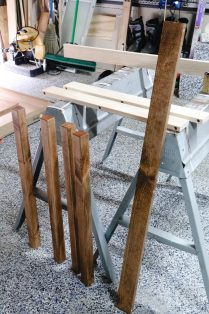
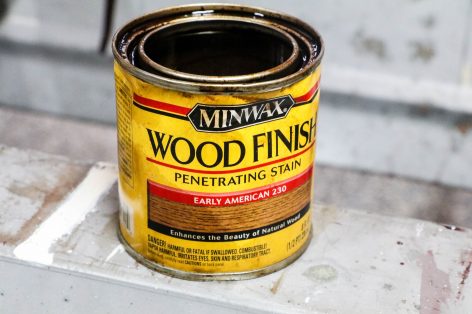
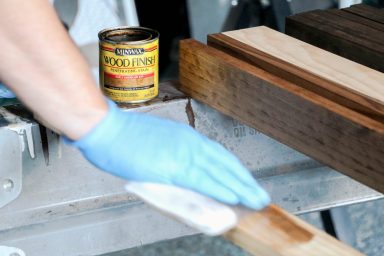
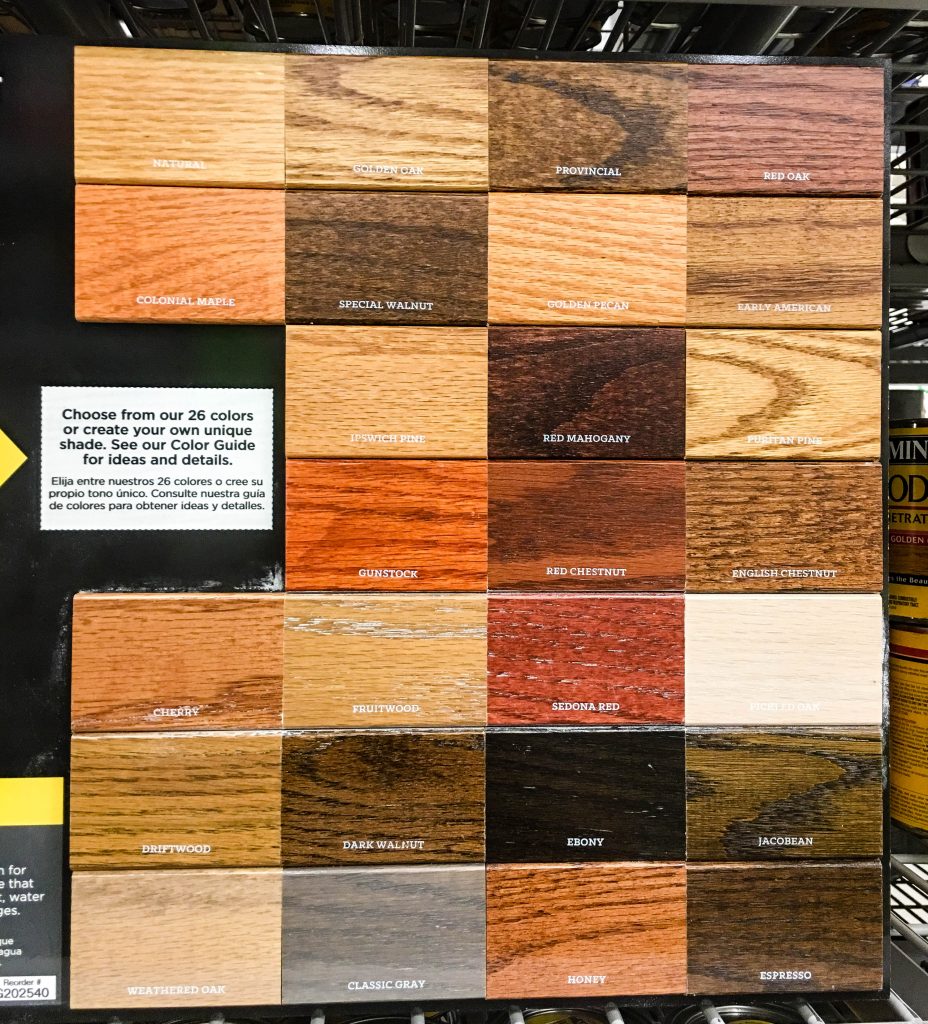
Once the INGO was home, we decided to stain with Minwax Wood Stain, Early American color, one coat, and then Minwax Polycrylic, Clear Matte to seal it, two coats. We already had both of these from previous projects in our home, so no added cost. The table top and legs were stained individually first, then we applied the poly once assembled.
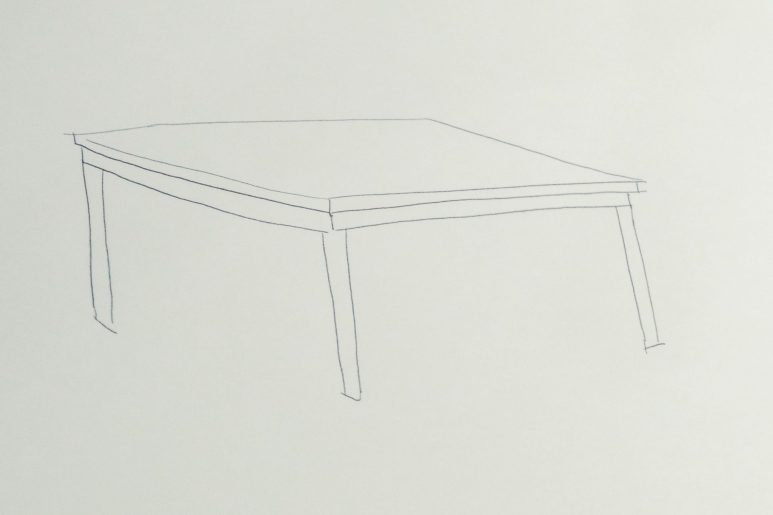
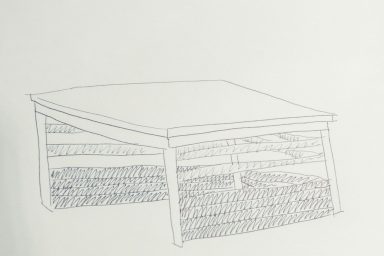
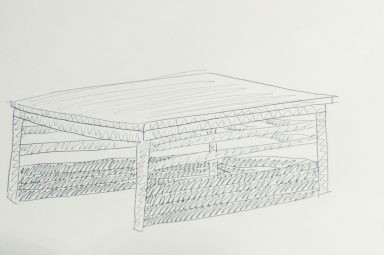
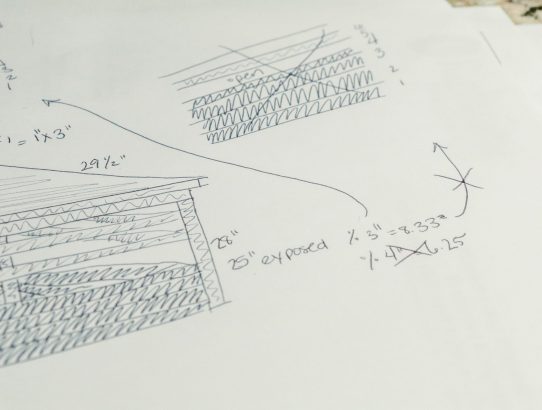
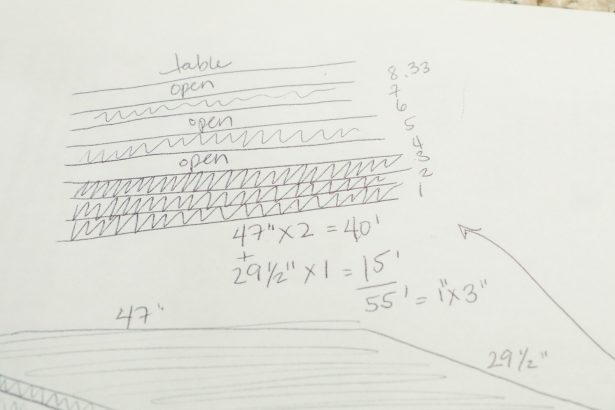
While this work was taking place in our garage, I was inside sketching up a rough outline for the finished product.
From this, we were able to do the math and knew we needed 5 “long” boards for each of the two sides and 5 “short” boards for the back side. All of these would be cut from 1″ x 3″ pine board purchased at our nearby Lowe’s store. Later, we would increase this to 6 on all sides to account for the fact that 1″ x 3″ boards are really .75″ x 2.5″. The boards were sold in both 6′ and 8′ lengths, so the outline let us know that we would need a total of six of the 8′ length (for the sides) and three of the 6′ length (for the back). These boards were approximately $7 and $5.50 each, respectively, or $58.50 in total.
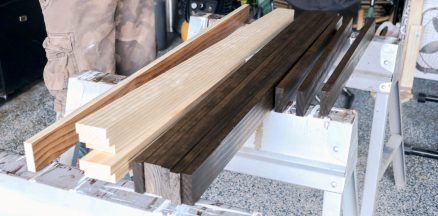
While at Lowe’s purchasing the boards, we also picked up a small can of Minwax Wood Stain, Espresso color (approximately $5), since we wanted a two-toned finished product and we thought that would compliment the Early American color nicely from the display chart.
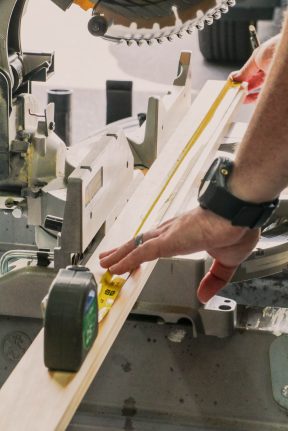
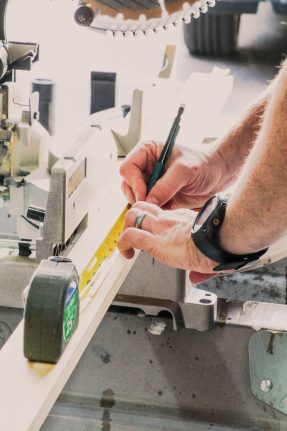
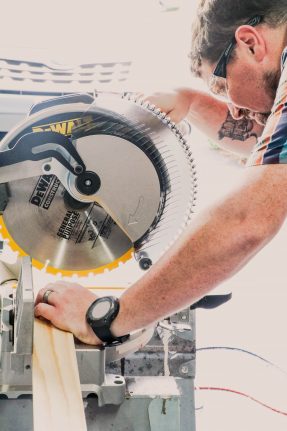
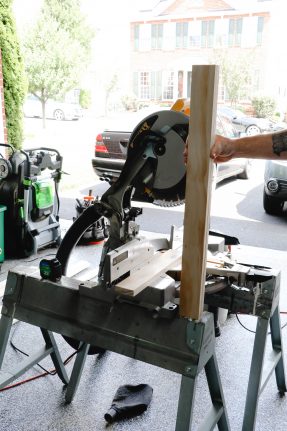
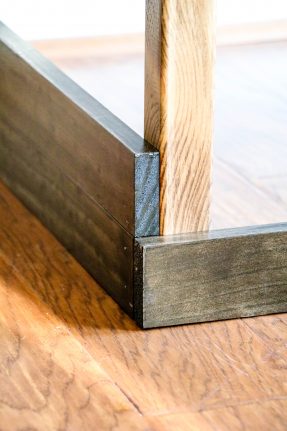
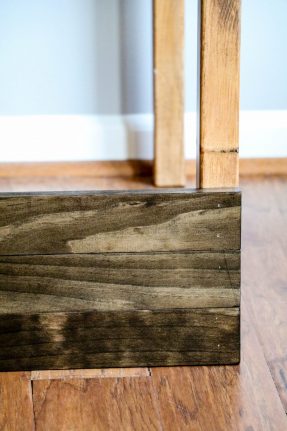
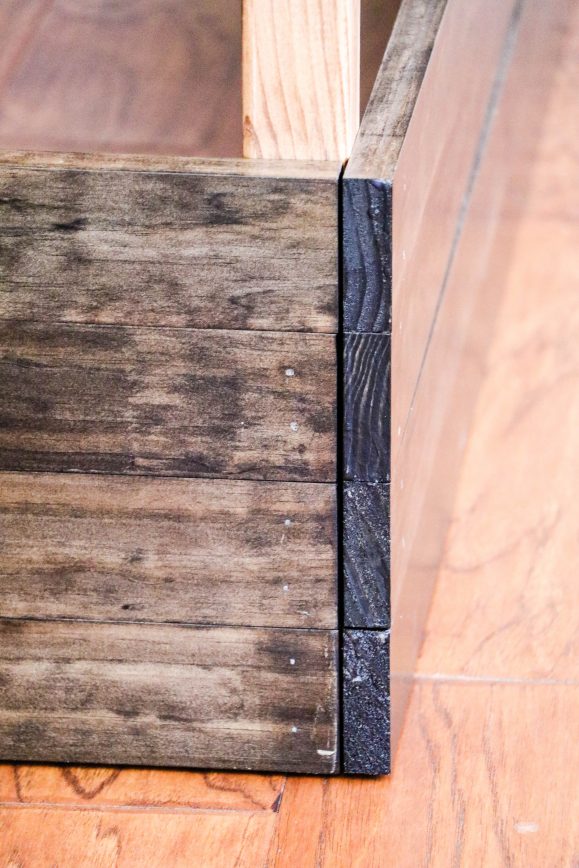
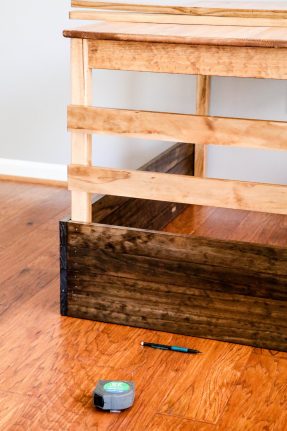
With the boards home, we cut them down to size from the edge of one INGO table leg to another. The table top actually protruded from the legs just enough that the .75″ thickness to our boards would line up quite nicely with the table top too. We cut the short-side (back) boards first, so that the longer ones would hide the adjoining seams at the back of the finished product.
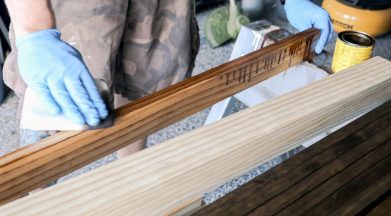
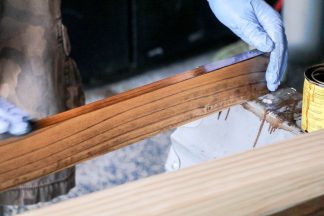
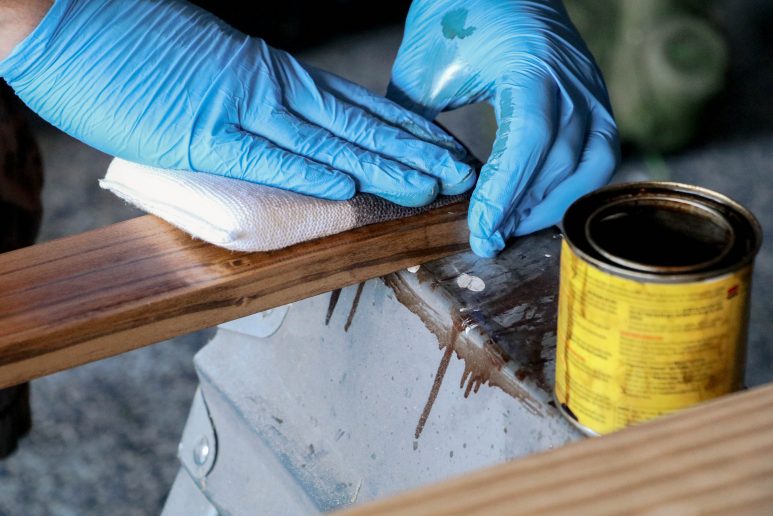
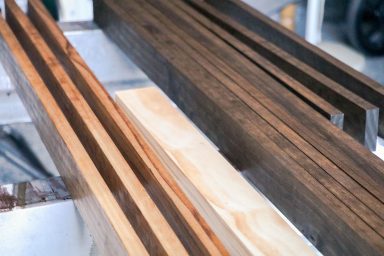
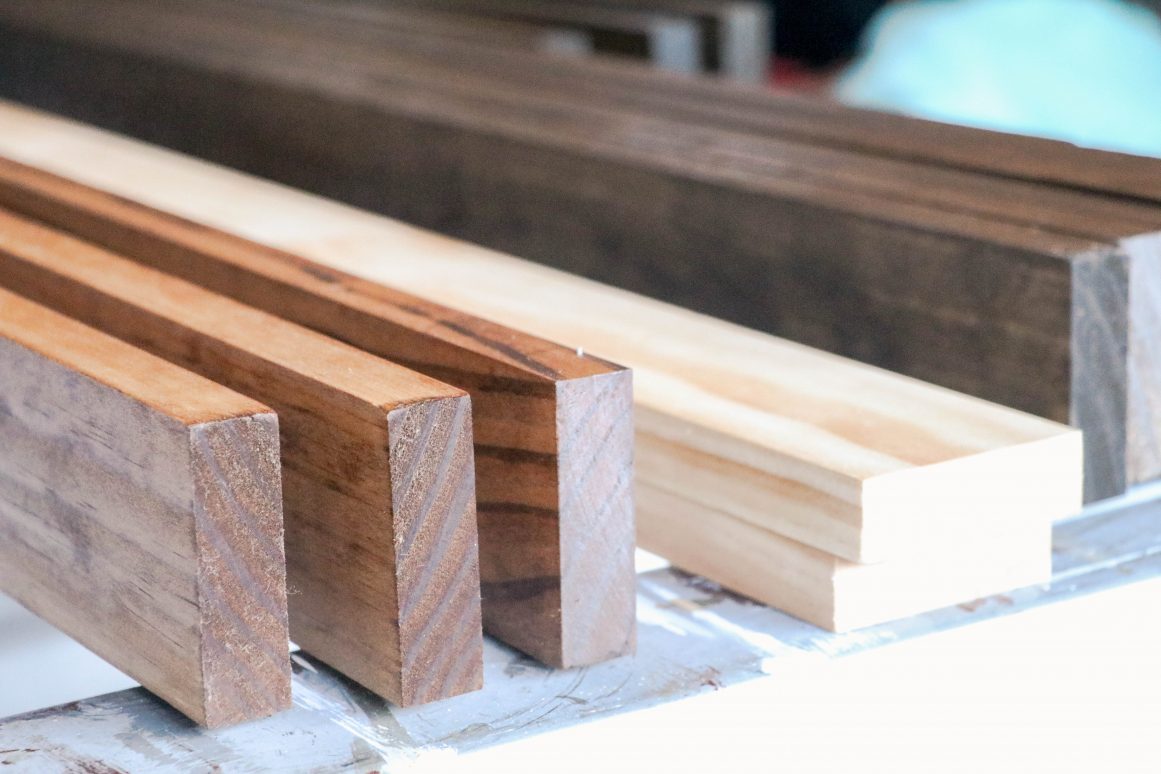
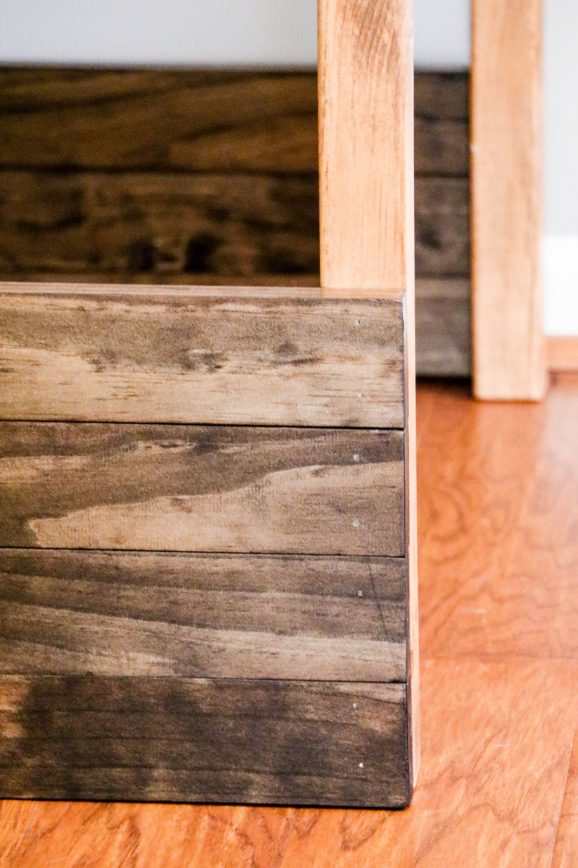
After all the boards were cut to size, eight of the 12 long-side boards and four of the six short-side boards were stained Espresso, two coats, with three coats of Poly. The rest of the boards were stained with the same color used on the table, Early American, one coat, and then three coats of Poly.
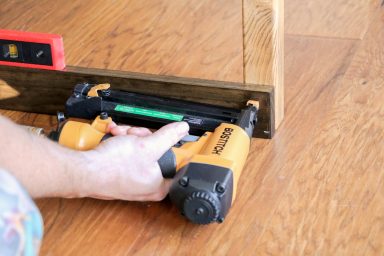
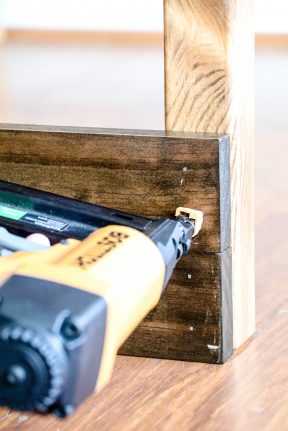
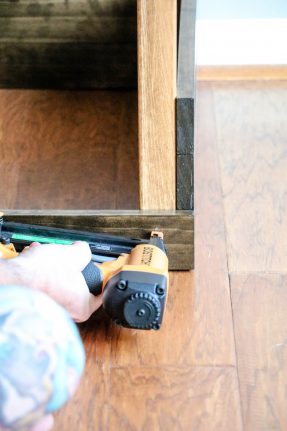
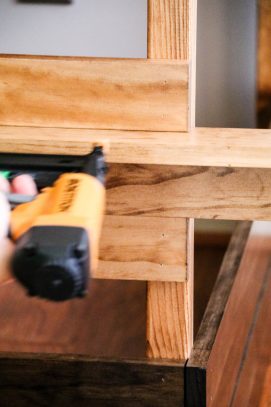
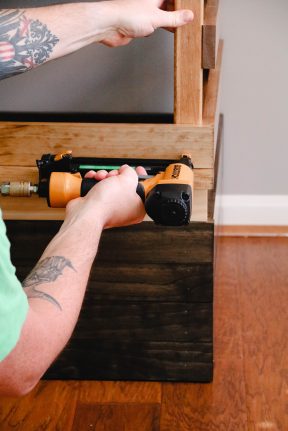
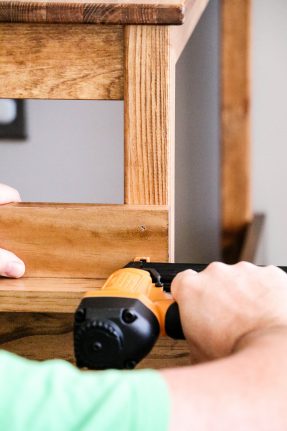
Once there had been ample time to dry between coats, it was now time to start assembly. Using a Bostitch air compressor with corresponding brad nailer (originally purchased for our Master Bedroom wood wall project), we drove nails through two spots on the end of each board, into the table’s legs, starting with the short (back) side first, then one of the long sides, then the second long side.
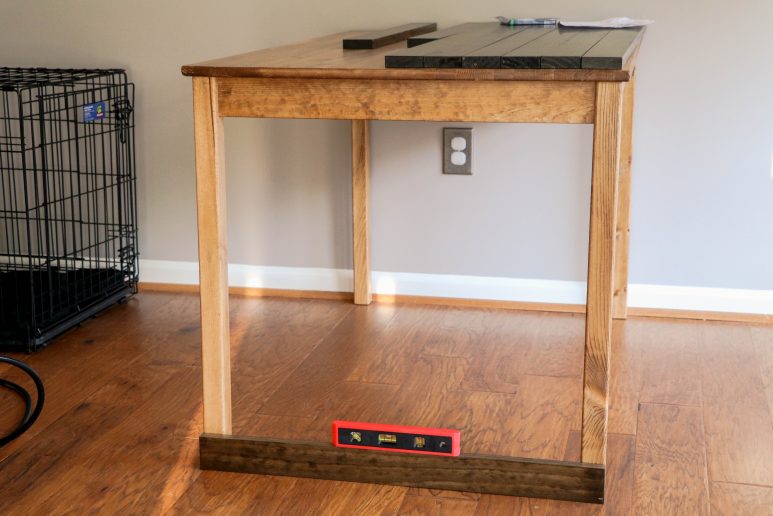
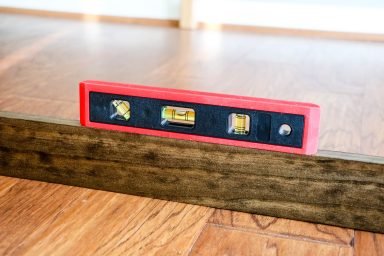
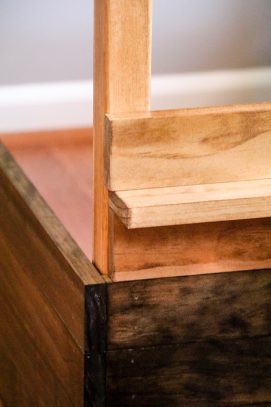
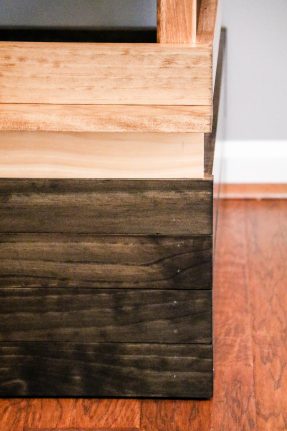
We started at the bottom, with the Espresso-stained boards and worked our way up, ensuring that our favorite side of each board was on the exposed side of the finished product and we were checking our level every so often (remember, the floor that we’re working on might not be level).
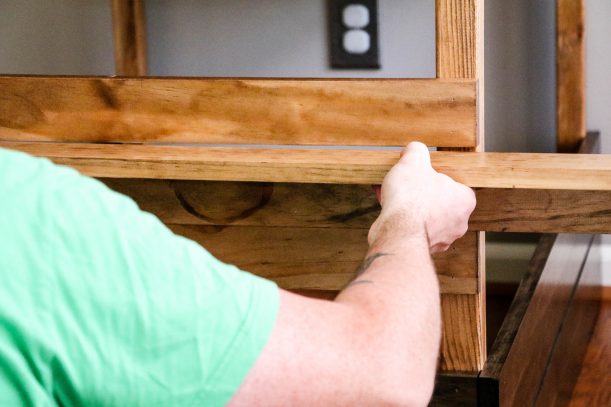
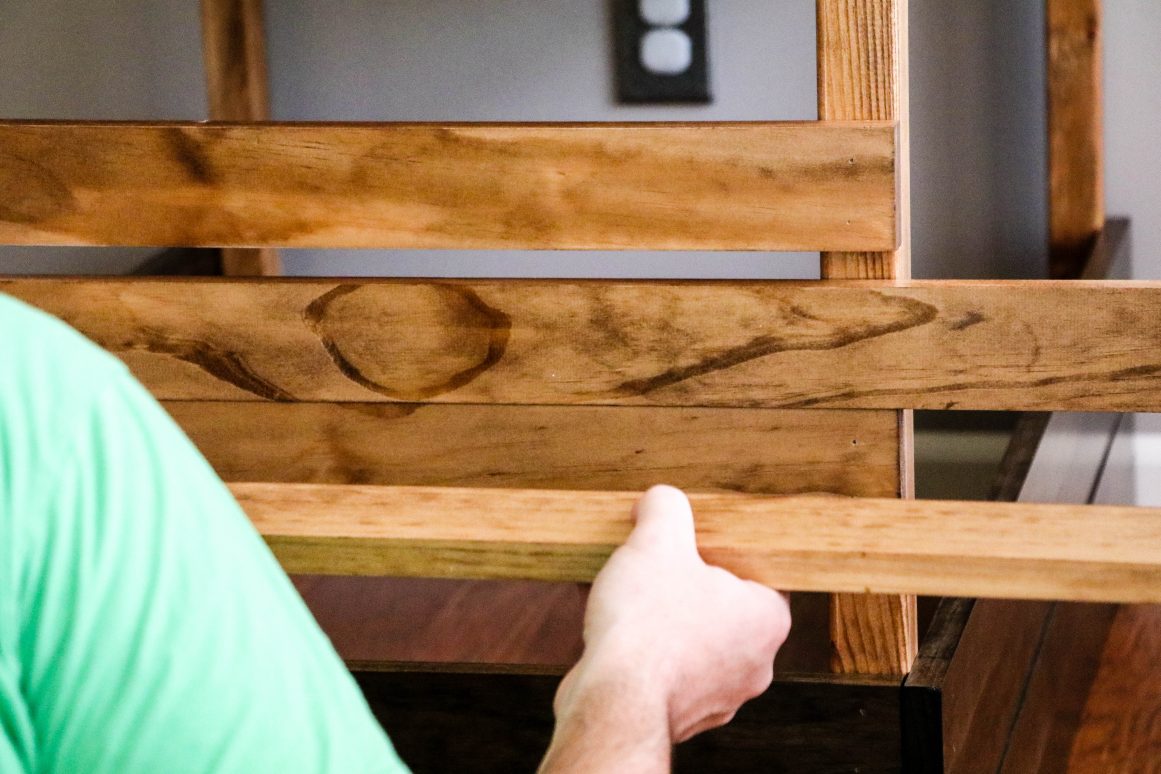
Once the four bottom boards were installed, stacked up against one another, we remeasured the remaining space between the top of the fourth board to the bottom of the table. We then deducted the 5″ to account for the two remaining Early American-stained boards to find out how much open-air space we had to work with. This came out really close to 3.25″ and in order to keep everything straight, we took spare boards and stacked one upright and one sideways on top of the Espresso-stained board grouping to line up our first Early American-stained board for attachment. We repeated this all the way around, again working on the short (back) side first, then a long side, then the second long side.
And, then we repeated this process with the spare boards once more on top of the first Early American-stained board to install the final set around the three sides of the table.
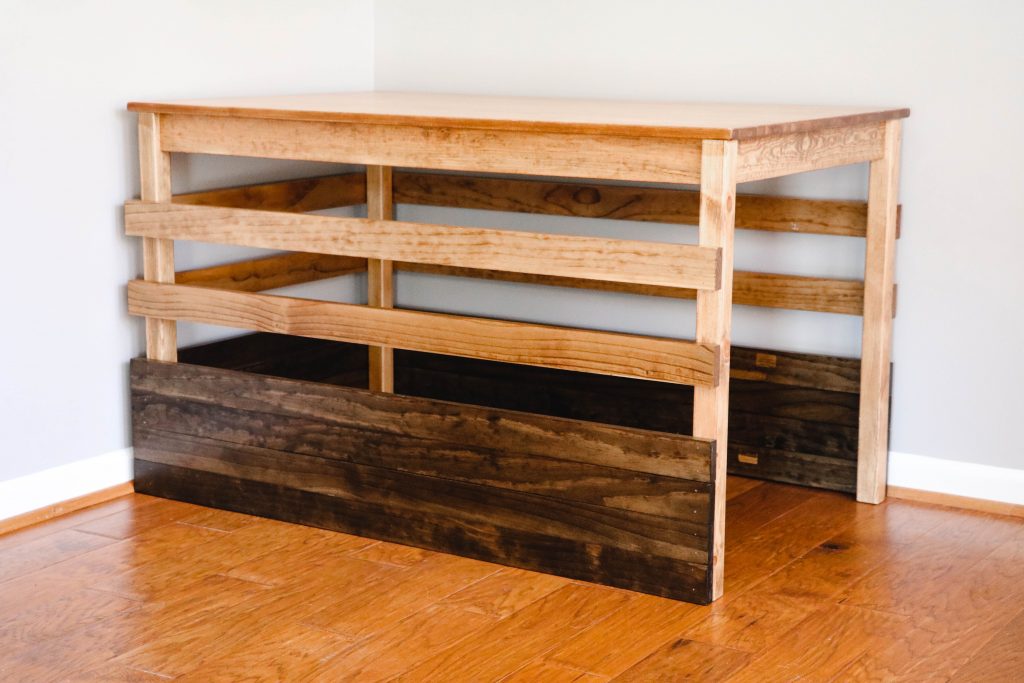
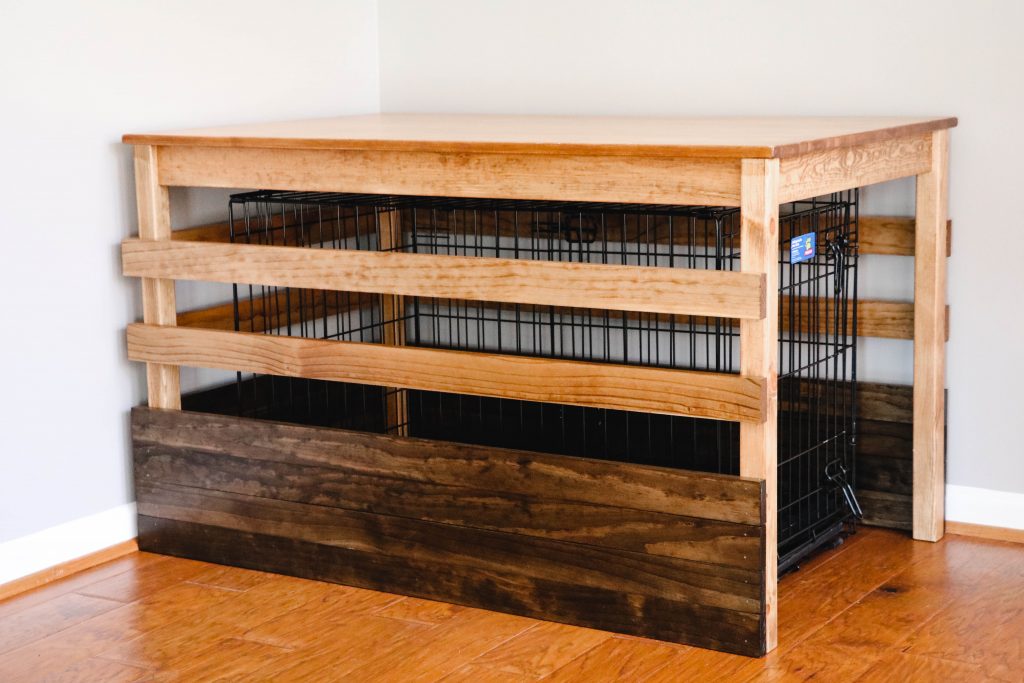
Once fully assembled, it was now time to test it out with the hinged-door kennel inside!
While this solution allows for open-air flow to the kennel, because three sides go all the way to the floor, the hair is relatively contained in between the kennel and the IKEA-hacked INGO table.
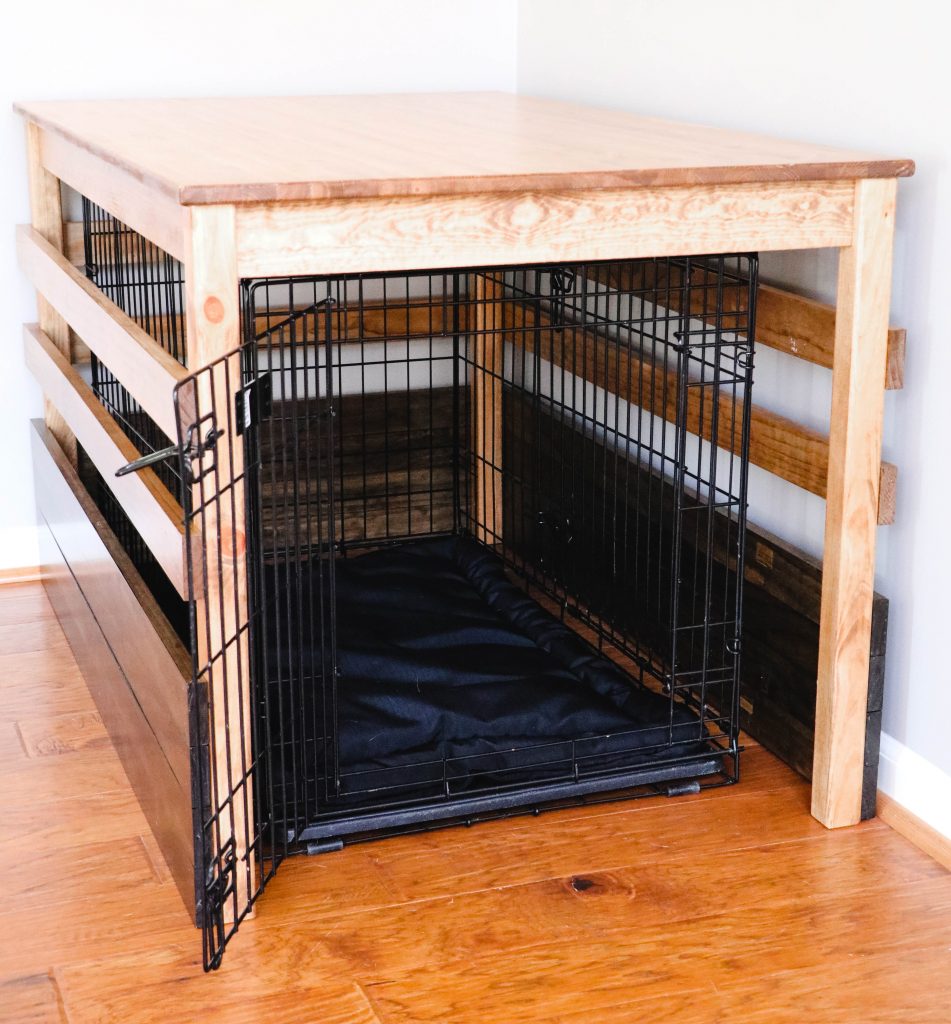
Oh, I should probably add that our pooch is loving her newly restyled bedroom too!
And, now it’s time for us to get to work on that multi-use play room…
Social Follow and Share
Transform the #IKEA INGO pine table into a more visually-appealing cover for your dog kennel with this #IKEAHack! https://t.co/Oh3nWPhCRj pic.twitter.com/yRsO2j8b51
— Saving Amy (@savingamyblog) September 8, 2017
Saving Amy is a participant in the Amazon Services LLC Associates Program, an affiliate advertising program designed to provide a means for sites to earn advertising fees by advertising and linking to amazon.com.
The Saving Amy blog web site is in no way related to and/or endorsed by IKEA®, IKEA.com OR The IKEA Group. All IKEA product links are provided for reader convenience and do not imply IKEA’s approval of this blog web site nor the modification of its products. IKEA and Saving Amy are not liable for any product failure, injury, or damage resulting from modifications to IKEA product assembly and use.


